How to Make Paper Spider Webs Kids Craft
One craft my daughter never gets bored with is that of making paper snowflakes for winter and webs for Halloween. She is very happy to sit there and fold and cut, making up her own designs that can be hung up or stuck in the window as quick, easy and inexpensive decorations.
Making paper spider webs is a great craft for children who have mastered the art of using child friendly scissors often from around the age of 3 – 5. It is also good practice for those who are learning to use scissors more comfortably.
This kids craft can really help to develop those fine motor skills as they grasp and manipulate the scissors and it can also help with adults wanting to teach good safety measures with these instruments too. Depending on the age and skill of the child, supervision may of course be required.
Note: This post may contain affiliate links for which I can be compensated.

Making paper spider webs is a simple and fun paper craft activity that works well for kids who are old enough to use child friendly scissors to cut with.
This craft could be done from as young as age 3 but more usually for 4-6 year olds. My 5 year old daughter demonstrated how it is done in the photos below.

Draw around a circular object like a plate onto some colored paper.
Step 1: This is very easy. To prove just how easy it is, my daughter (who was around 5 when these photos were taken) is demonstrating how it is done.
The first part is to make a circle of paper to fold. You want to start with a pretty large circle because that will make folding and cutting easier. We choose a plate for drawing around which almost filled the width of the paper.
At the time, my daughter's favorite color was blue so she wanted blue paper. You can use any colored paper but it may be more fun for kids, once they know how to make these, if they can choose a patterned paper or maybe a rainbow or metallic one instead. A silver cobweb would look great.

Cutting out the circle of paper with age appropriate scissors.
Step 2: Here she is cutting out the circle she drew with her child friendly scissors. These tend to be sized nicely for smaller hands to use and they come with rounded tips instead of sharp, pointy ones.


The inner blades are still sharp even on children's scissors which are normally blunt ended. Some education on only touching these tools by the handles may be necessary either as a reminder or a new instruction on safety if they have not used these before.

Folding the circle of paper a number of times.
Step 3: Once the circle is cut out, the folding fun begins. This process of folding the circle can be good for teaching the basics of fractions (halves, quarters) and also shapes such as a semi circle. The circle needs to be folded in half and then folded in half another 2 or 3 times.
If you used thin paper this might be easy to make lots of folds and if you used thick paper it might prove a little harder. It can also be more difficult to cut too, the more folds (and layers of paper) there are. So some judgement is needed.

Cutting into the folded paper to make a pattern.
Step 4: Making more of an actual spider web shape is best done by cutting narrow grooves into one side of the folded paper. This will give more of a web feel to it.
However, I think it’s good to let children have fun coming up with their own designs and being creative. You can certainly show them and give guidelines on how it could look but letting them decide is great for their own sense of self esteem and learning.

Completed cobweb paper spiderweb design made by a young child.
Step 5: Here's one completed. It's fun to open it up and see the end result. Another way for kids to give it more of a webbed style is to draw circular lines around the finished paper and draw over the folds or to glue yarn in circles around it. They could look at real images of webs to see and learn from the patterns.
Related Content You Should Also Love:
Page Last Updated:
Making paper spider webs is a great craft for children who have mastered the art of using child friendly scissors often from around the age of 3 – 5. It is also good practice for those who are learning to use scissors more comfortably.
This kids craft can really help to develop those fine motor skills as they grasp and manipulate the scissors and it can also help with adults wanting to teach good safety measures with these instruments too. Depending on the age and skill of the child, supervision may of course be required.
Note: This post may contain affiliate links for which I can be compensated.
How to Make Paper Spider Webs: A Fun Kids Craft Ideal for Halloween
Making paper spider webs is a simple and fun paper craft activity that works well for kids who are old enough to use child friendly scissors to cut with.
This craft could be done from as young as age 3 but more usually for 4-6 year olds. My 5 year old daughter demonstrated how it is done in the photos below.
Draw around a circular object like a plate onto some colored paper.
Step 1: This is very easy. To prove just how easy it is, my daughter (who was around 5 when these photos were taken) is demonstrating how it is done.
The first part is to make a circle of paper to fold. You want to start with a pretty large circle because that will make folding and cutting easier. We choose a plate for drawing around which almost filled the width of the paper.
At the time, my daughter's favorite color was blue so she wanted blue paper. You can use any colored paper but it may be more fun for kids, once they know how to make these, if they can choose a patterned paper or maybe a rainbow or metallic one instead. A silver cobweb would look great.
Cutting out the circle of paper with age appropriate scissors.
Step 2: Here she is cutting out the circle she drew with her child friendly scissors. These tend to be sized nicely for smaller hands to use and they come with rounded tips instead of sharp, pointy ones.
Child Friendly Blunt Edge Scissors
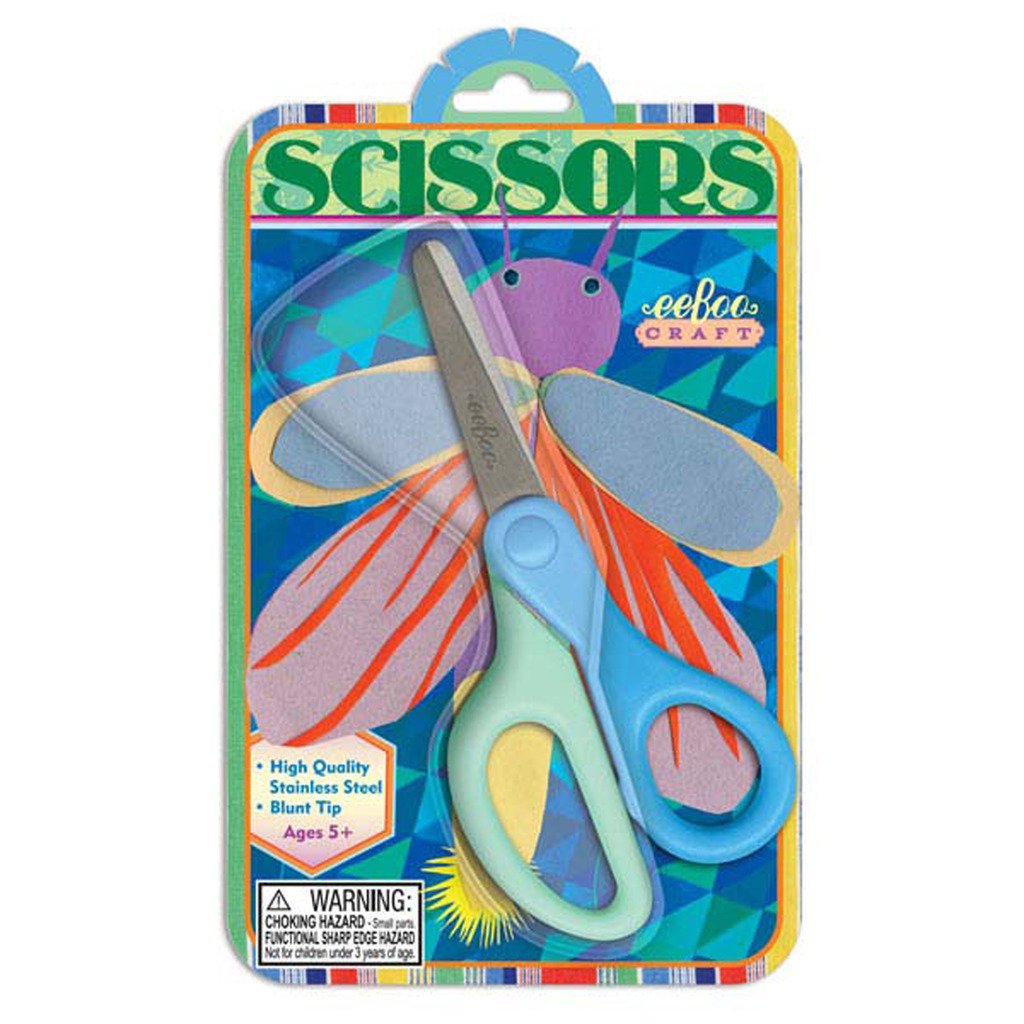
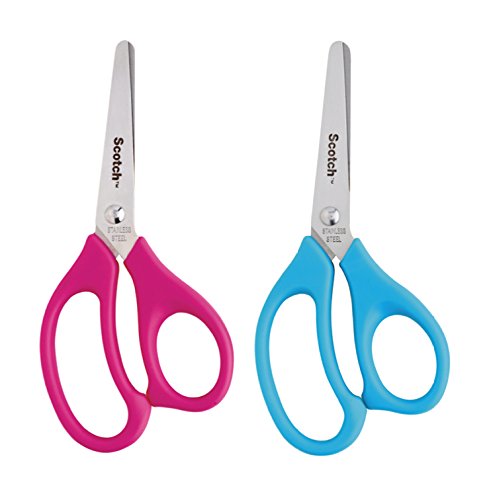
The inner blades are still sharp even on children's scissors which are normally blunt ended. Some education on only touching these tools by the handles may be necessary either as a reminder or a new instruction on safety if they have not used these before.
Folding the circle of paper a number of times.
Step 3: Once the circle is cut out, the folding fun begins. This process of folding the circle can be good for teaching the basics of fractions (halves, quarters) and also shapes such as a semi circle. The circle needs to be folded in half and then folded in half another 2 or 3 times.
If you used thin paper this might be easy to make lots of folds and if you used thick paper it might prove a little harder. It can also be more difficult to cut too, the more folds (and layers of paper) there are. So some judgement is needed.
Cutting into the folded paper to make a pattern.
Step 4: Making more of an actual spider web shape is best done by cutting narrow grooves into one side of the folded paper. This will give more of a web feel to it.
However, I think it’s good to let children have fun coming up with their own designs and being creative. You can certainly show them and give guidelines on how it could look but letting them decide is great for their own sense of self esteem and learning.
Completed cobweb paper spiderweb design made by a young child.
Step 5: Here's one completed. It's fun to open it up and see the end result. Another way for kids to give it more of a webbed style is to draw circular lines around the finished paper and draw over the folds or to glue yarn in circles around it. They could look at real images of webs to see and learn from the patterns.
Related Content You Should Also Love:
How to Make Spider Pom Poms Tutorial
See How to Make Spider Web Banners and Garlands
Spider Cupcake Decorating Ideas
Perler Bead Spider Web Instructions for Kids
More Spider Craft Ideas
See How to Make Spider Web Banners and Garlands
Spider Cupcake Decorating Ideas
Perler Bead Spider Web Instructions for Kids
More Spider Craft Ideas
Page Last Updated:


Comments
Post a Comment
Just Halloween Crafts is a site dedicated to my favorite time of year and the whole spook time season that surrounds October 31st. I love to decorate the home with handmade, DIY and crafted items for Halloween as well as make costume accessories and do fun crafting activities. Using papercrafts, sewing with felt, no-sew techniques and more, you can create a wonderful scheme to your decor whether you are going for scary themes or more fun ones with pumpkins and more. Ghosts, witches, wizards and more make for fun crafting sessions. Thanks for leaving me a comment. Comments do not show until I approve them. Marie