How to Make Mason Jar Halloween Lanterns
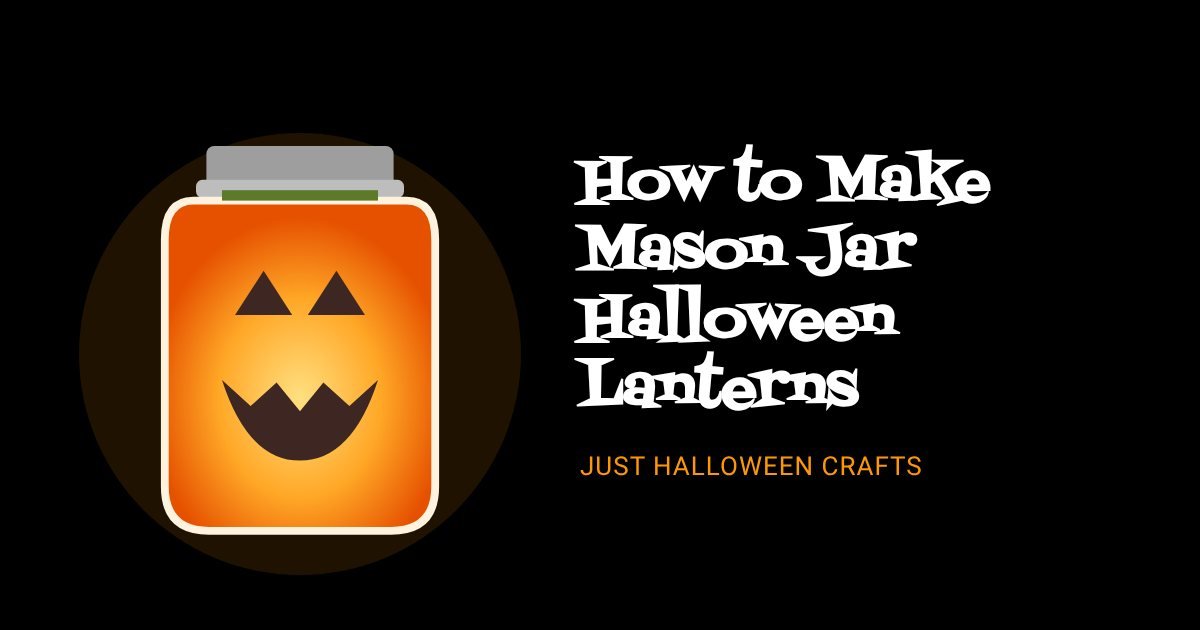
Mason jar Halloween lanterns are one of the easiest ways to add a warm, spooky glow to a porch, mantel or party table. A few clean glass jars, some paint or tissue paper and a battery tea light are all it takes to turn kitchen recycling into a row of grinning jack-o'-lanterns, wrapped mummies or glowing stained glass luminaries.
This tutorial walks you through one basic method step by step, then shows you five different designs you can make with the same technique. The projects suit adults and older children, and younger kids can join in with the decorating once the jars are prepared.
What You Need to Make Mason Jar Lanterns
You do not need special canning jars for this craft. Any clear glass jar with smooth sides will work, including clean pasta sauce, jam and pickle jars. Wide-mouth jars are easiest because you can reach inside to place the light.
- Clean, dry glass jars with labels removed
- Rubbing alcohol or warm soapy water and a lint-free cloth
- Acrylic craft paint or multi-surface paint in orange, white, black and green
- Foam brushes or soft flat paintbrushes
- Black permanent marker or paint pen for faces and details
- Tissue paper in Halloween colors and a decoupage medium such as Mod Podge (for the luminary design)
- White cheesecloth, gauze or strips of muslin (for the mummy design)
- Googly eyes, twine, ribbon and thin craft wire (optional)
- Battery-operated LED tea lights or a small string of fairy lights
Before You Start: Choose a Safe Light
Paint, paper and fabric decorations can catch fire, so use battery-powered LED tea lights or fairy lights inside your lanterns rather than real candles. LED lights stay cool, can be left on for a whole evening, and are much safer around children, pets and trick-or-treaters' costumes. Many come with a flicker setting that looks surprisingly like a real flame through orange glass.
If you use your jars outdoors, place them on a level step or table where they will not be knocked over, and bring them inside if heavy rain is forecast so the paint and paper stay in good condition.
How to Make a Painted Mason Jar Lantern: Step by Step
The painted jack-o'-lantern jar is the classic version and a good one to make first. Once you are happy with the method, you can adapt the colors and faces for the other designs below.
Step 1: Clean and Prepare the Jars
Soak the jars in warm soapy water to loosen the labels, then scrub away any sticky residue. Dry them thoroughly and wipe the outside with a little rubbing alcohol on a cloth. This removes greasy fingerprints so the paint grips the glass evenly.
Step 2: Paint the First Coat
Paint the outside of the jar with thin, even strokes of orange paint. Work from top to bottom and leave the rim unpainted if you plan to add a ribbon or wire handle later. The first coat will look streaky; that is normal. Let it dry completely, which usually takes 20 to 30 minutes for acrylics.
For a softer glow, try dabbing the paint on with a foam brush or sponge instead of brushing. The tiny gaps in the texture let more light through.
Step 3: Add More Coats
Add a second and, if needed, a third coat until the color is even. Hold the jar up to a window between coats to check the coverage. Remember that a lantern should glow, so stop before the paint becomes completely opaque.
Step 4: Draw the Face
Sketch a jack-o'-lantern face lightly with a pencil, then fill in the eyes, nose and mouth with black paint or a paint pen. Triangle eyes and a zigzag grin are traditional, but you can make each jar a different character: sleepy, surprised, toothy or downright scary.
Step 5: Finish and Light
Once the face is dry, tie green ribbon or twine around the neck of the jar to look like a pumpkin stalk. Pop an LED tea light inside and your first lantern is ready. If your jars will be handled a lot, seal the paint with a clear spray varnish suitable for glass and leave it to cure as directed on the can.
Five More Mason Jar Lantern Ideas for Halloween
1. Mummy Jars
Paint the jar a pale yellow or leave it clear, then wrap strips of cheesecloth or gauze around it, overlapping them at different angles and securing the ends with a dab of glue. Leave a small gap and stick on two googly eyes peeping out. When lit, the light shines through the layers of fabric for a creepy, soft glow.
2. Tissue Paper Stained Glass Luminaries
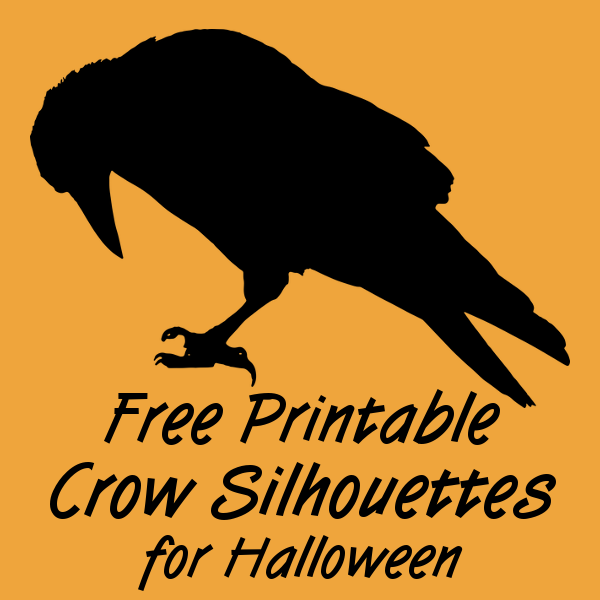
Tear orange, yellow, purple and green tissue paper into small pieces. Brush decoupage medium onto a section of the jar, press the tissue pieces on and brush another layer over the top. Overlap the colors so the jar is fully covered, then let it dry. Add a black paper bat or cat silhouette on top for a dramatic finish. Our free printable crow silhouettes and butterfly silhouette template make good stencils for this.
3. Ghost Jars
Frost the jar with two or three coats of white paint, sponged on so it stays slightly translucent. Paint two large black oval eyes and an open "Boo!" mouth. A cluster of ghost jars in different sizes looks wonderful lined up along a windowsill.
4. Spider Web Jars
Paint the jar black, then use a fine white paint pen to draw a spider web radiating from one side. Add a small plastic spider or a pom pom spider on the lid. Alternatively, leave the jar clear and stretch fake cobweb around it for an instant haunted look.
5. Witch's Potion Jars
Paint the jar a deep green or purple, add a printed label and tie twine around the neck. Our free Halloween potion bottle labels fit well on smaller jars and turn them into glowing apothecary lanterns for a witch-themed party.
How to Display Your Halloween Lanterns
- Porch steps: place a jar on each side of every step to light the way for trick-or-treaters.
- Mantel or shelf: group jars of different heights with mini pumpkins and fake cobweb.
- Party table: use small jam jars as glowing centerpieces between plates of treats.
- Hanging lanterns: wrap craft wire twice under the rim of the jar and twist a loop over the top to make a handle, then hang from a sturdy hook or tree branch.
Tips for the Best Results
- Paint peeling? The glass was probably greasy. Clean it with rubbing alcohol before painting next time, or use a paint made for glass.
- Too dark when lit? Use fewer coats, sponge the paint on, or leave the face shapes unpainted so light shines through them.
- Brush strokes showing? Thin coats dry more smoothly than one thick one. A foam brush also helps.
- Working with kids? Prepare and base-coat the jars in advance, then let children add faces and decorations with paint pens or stickers.
Light Up Your Halloween
Mason jar Halloween lanterns are inexpensive, quick to make and can be stored away and reused every October. Start with a simple painted pumpkin jar, then experiment with mummies, ghosts and stained glass designs until you have a whole glowing collection.
Looking for more ways to decorate? Try our no-carve pumpkin decorating ideas, make tissue paper pom poms to hang above your lanterns, or browse all of our DIY Halloween decorations.
Page Last Updated: