Hairy Hobbit Feet Cookies for Halloween
Discover how you can make some deliciously hairy Hobbit feet cookies for Halloween. Novelty vanilla sugar cookies with chocolate hair are a fun project for Lord of the Rings fans to bake and eat.
Hobbit feet cookies, which luckily have a delicious fragrance of chocolate and vanilla instead of feet, are a really fun baking project. Easy to do, make some foot shaped vanilla biscuits or cookies and add on some melted chocolate icing. Using a foot shaped cookie cutter makes this nice and simple.
You'll find step-by-step photos on this page which show you exactly how to make some feet that you'd expect to see on Bilbo or Frodo Baggins. Perfect little sweet treats for kids birthday parties, Hobbit themed Halloween events and more.
Note: This post may contain affiliate links for which I can be compensated.

Just below is the recipe with step by step photos for the Hobbit foot cookies. Made from simple vanilla sugar cookie dough and decorated with a little chocolate, they're actually feet that you won't mind eating at all - nibble away!
Hobbits as described by Tolkien in The Hobbit and The Lord of the Rings books walk about with bare feet which have toughened skin on the soles and they are hairy too.
The hair is thick and curly and will normally match the color of the Hobbits own hair. What great fun these cookies will be for a Hobbit themed birthday, Halloween party or other event.


Hobbit feet that are tasty treats with vanilla cookie feet and yummy chocolate decoration.
Prep time 30 min - Total time 60 min
Ingredients for approx 20 small servings
113g unsalted butter
113g caster sugar
1 beaten egg
1/2 teaspoon vanilla extract
225g plain flour
150g bar baking chocolate for decorating
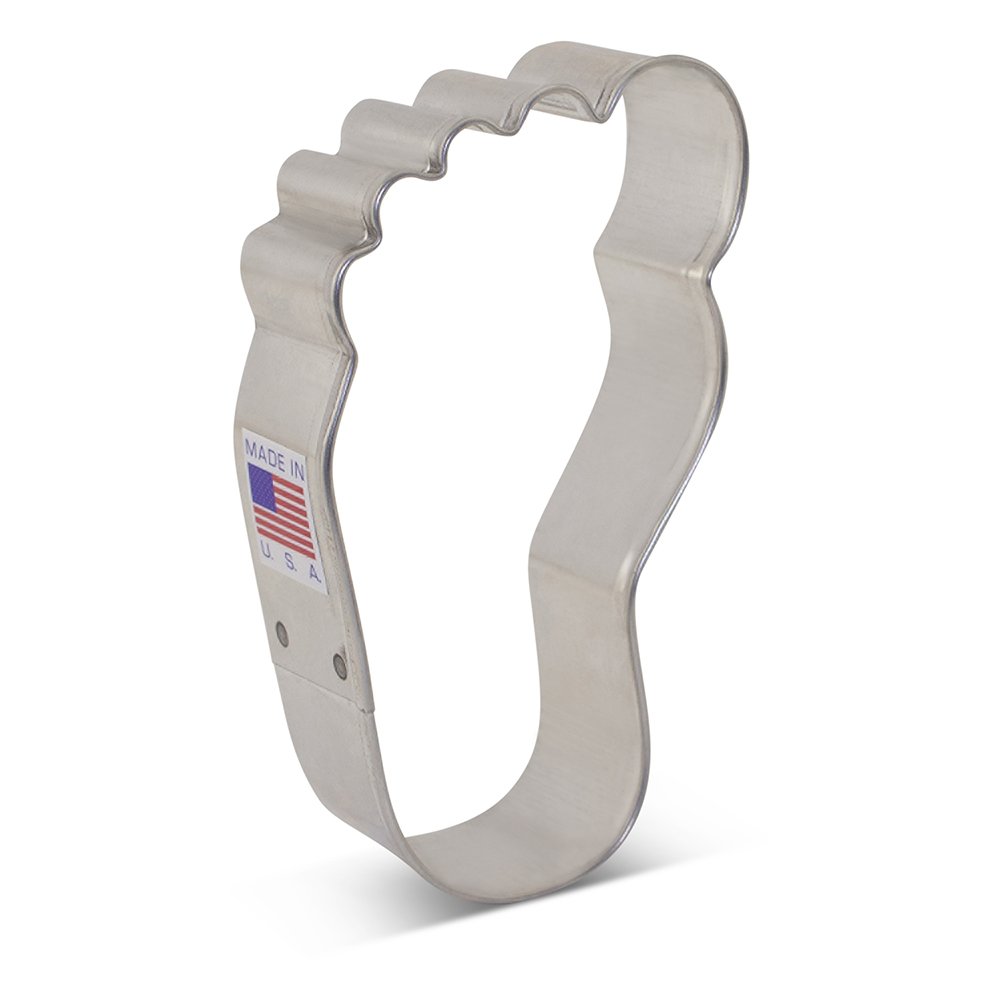
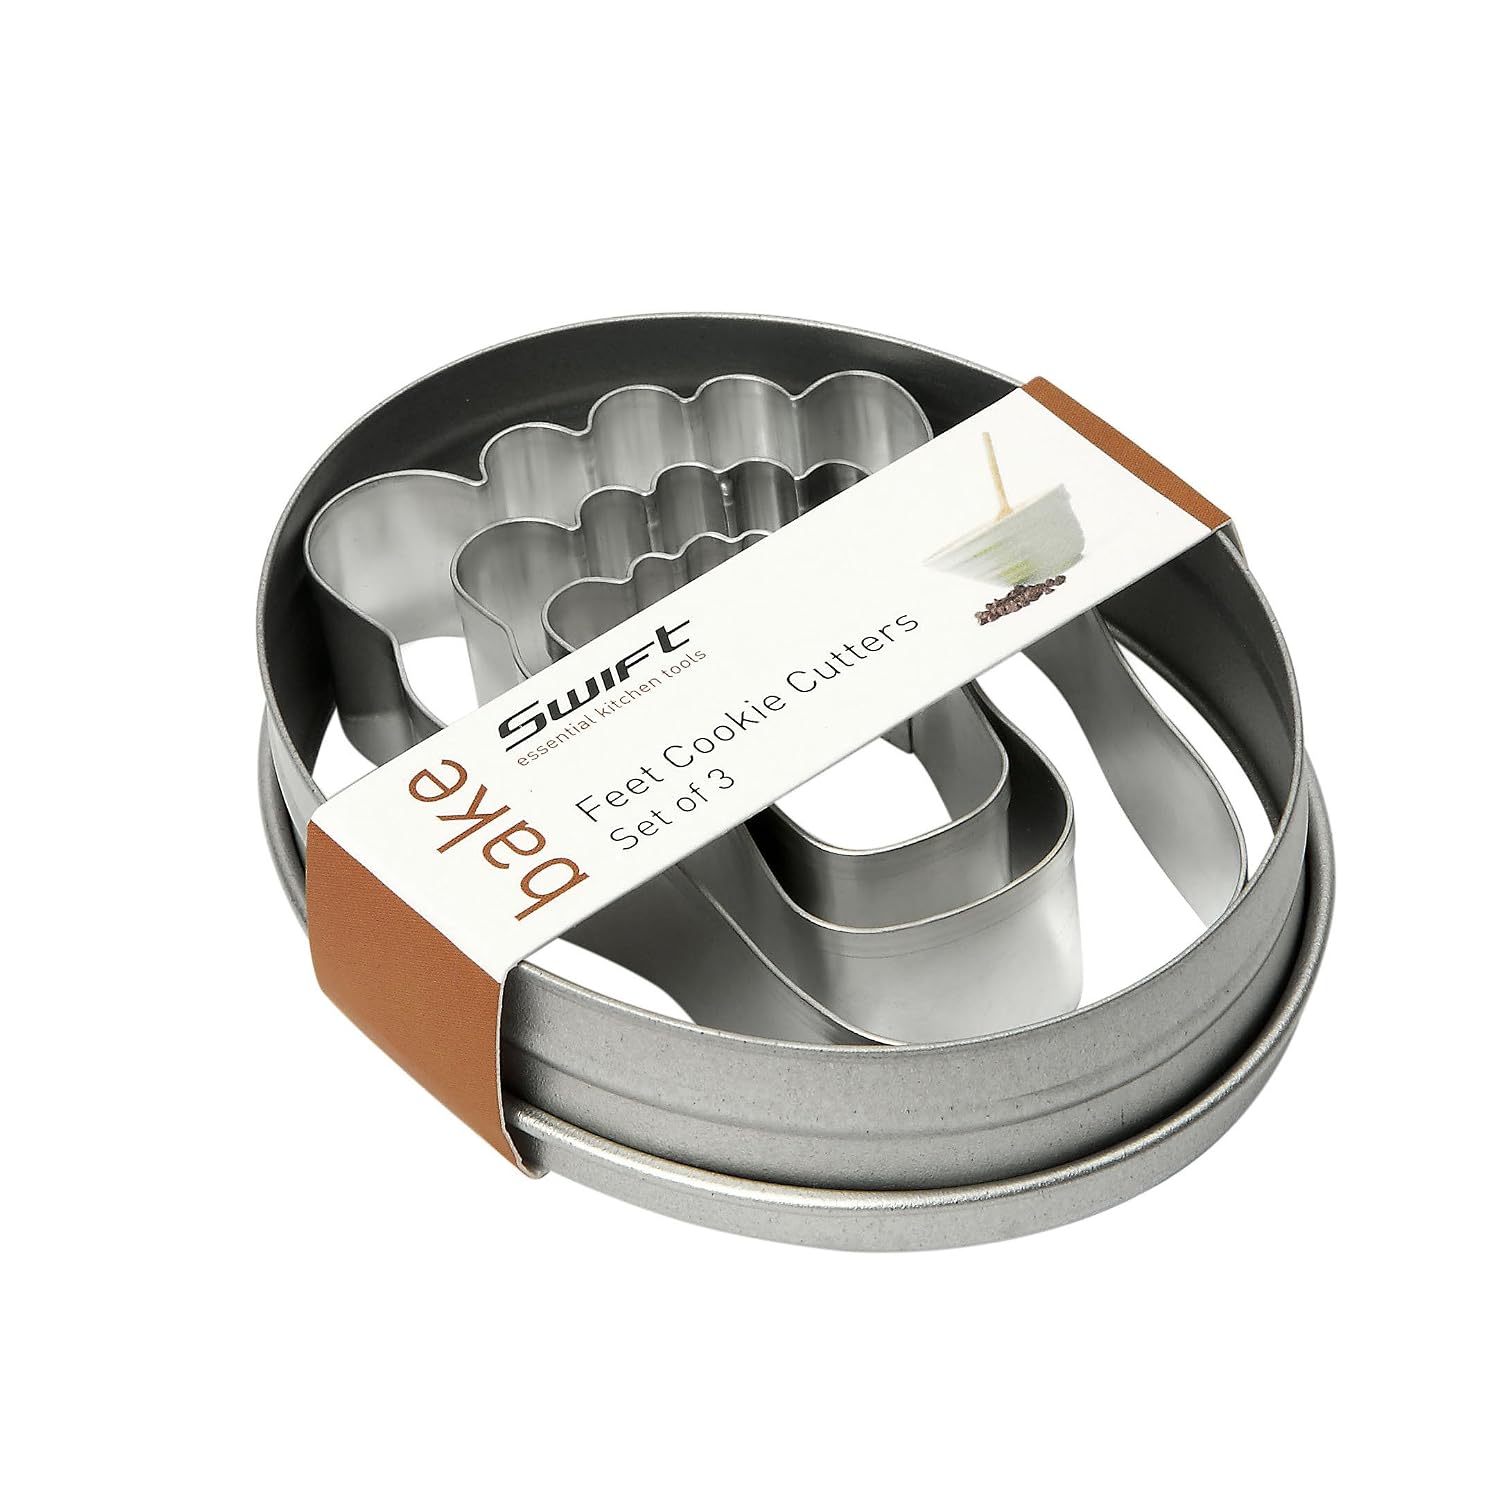
Foot shaped cookie cutter
For sugar cookie dough US measurements, search for a recipe on AllRecipes.com or use your own cookie dough recipe.
Add softened butter and sugar into a large mixing bowl. You can combine the ingredients with a hand whisk or an electric whisk which is easier. Add in the vanilla extract and 1 egg. Whisk together until everything is combined well.
Gradually add your flour to the bowl and whisk until you have a very crumbly mixture. Use clean hands to squeeze the mixture into a big ball of firm cookie dough. Wrap this ball in some plastic food wrap and place in the refrigerator for about 30 minutes.

When the cookie dough has been chilled, take it out of the food wrap and roll it out onto a large, flat work surface. You might only be able to roll a portion, like half of the dough if you don't have a large enough work area. Roll to the thickness you like which is around 5mm for me.
Use your foot cookie cutter to cut out as many cookie feet as you can. Place the cut feet onto a lightly floured baking tray with a small gap in between each one.
Bake on Gas 4 (350°F / 177°C) for around 10-12 mins. When the feet are ready, they'll be a nice golden brown. Place onto cooling racks to cool down.

Take about one-third of your baking chocolate bar and grate it using the large cutters on a standard grater. Put the grated chocolate to one side as that becomes the hairy detail on your Hobbit's feet!
Melt the rest of your baking chocolate. Break up the pieces and pop them into a microwaveable pouring jug like the one shown. Microwave the baking chocolate in short 20-30 second bursts (stirring with a spoon in between) until it's all nicely melted.

You might have icing bags but I definitely prefer my Kuhn Rikon squirt bottles which you can use to ice with. The main benefit to these bottles is if the melted chocolate starts to harden up again.
You can just take the top off the bottle and pop it back in the microwave to melt it back again while it's still in the bottle. Much easier. It means you can take your time and you don't have to waste any unusable chocolate.
Just pour the melted chocolate from the jug into your icing container.

Ice on 5 chocolate nails shapes onto each cookie foot where the toes are. Hold your icing nozzle at an angle so the chocolate doesn't run out too quickly. Practice on a sheet of baking paper first if you find the idea of icing daunting.

Remember that if you're using a Kuhn icing bottle and the chocolate starts to harden up, you can re-melt it easily. Simply take off the top of the bottle with the metal tip and place the open bottle into your microwave. Zap in short 10 second bursts (checking in between) until it's melted again. Pop the nozzle back on and use.
Now you need to go loopy with your icing and add some rounded loops and squiggles to make a 'hairy' area of chocolate on your hobbit feet cookies. Just do one foot then move to step 7 before the chocolate hardens.

Sprinkle your grated chocolate just over the curly hair pattern you've iced onto the cookie foot. Tap off any excess and you're left with a good impression of textured hair. Go back to step 6 and repeat for the rest of your cookie feet.

Leave your cookie feet somewhere cool so the chocolate can harden up before you serve them to any Hobbit fans.
Washing up your chocolate coated icing bottle is easy. Just use plenty of warm, soapy water and a bottle brush! This is a fast method for washing out the Kuhn Rikon icing bottles.
Related Content You Should Also Love:
Page Last Updated:
Hobbit feet cookies, which luckily have a delicious fragrance of chocolate and vanilla instead of feet, are a really fun baking project. Easy to do, make some foot shaped vanilla biscuits or cookies and add on some melted chocolate icing. Using a foot shaped cookie cutter makes this nice and simple.
You'll find step-by-step photos on this page which show you exactly how to make some feet that you'd expect to see on Bilbo or Frodo Baggins. Perfect little sweet treats for kids birthday parties, Hobbit themed Halloween events and more.
Note: This post may contain affiliate links for which I can be compensated.
Hairy Hobbit Feet Cookies are Ideal Treats for Halloween and Fantasy Parties
Just below is the recipe with step by step photos for the Hobbit foot cookies. Made from simple vanilla sugar cookie dough and decorated with a little chocolate, they're actually feet that you won't mind eating at all - nibble away!
Hobbits as described by Tolkien in The Hobbit and The Lord of the Rings books walk about with bare feet which have toughened skin on the soles and they are hairy too.
The hair is thick and curly and will normally match the color of the Hobbits own hair. What great fun these cookies will be for a Hobbit themed birthday, Halloween party or other event.
How to Make Hobbit Feet Cookies
You Need a Foot Shaped Cookie Cutter for This Project
Hobbit feet that are tasty treats with vanilla cookie feet and yummy chocolate decoration.
Prep time 30 min - Total time 60 min
Ingredients for approx 20 small servings
113g unsalted butter
113g caster sugar
1 beaten egg
1/2 teaspoon vanilla extract
225g plain flour
150g bar baking chocolate for decorating
Foot shaped cookie cutter
For sugar cookie dough US measurements, search for a recipe on AllRecipes.com or use your own cookie dough recipe.
Step 1: Make the Vanilla Sugar Cookie Dough
Add softened butter and sugar into a large mixing bowl. You can combine the ingredients with a hand whisk or an electric whisk which is easier. Add in the vanilla extract and 1 egg. Whisk together until everything is combined well.
Gradually add your flour to the bowl and whisk until you have a very crumbly mixture. Use clean hands to squeeze the mixture into a big ball of firm cookie dough. Wrap this ball in some plastic food wrap and place in the refrigerator for about 30 minutes.
Step 2: Cut out and Bake the Hobbit Feet Cookies
When the cookie dough has been chilled, take it out of the food wrap and roll it out onto a large, flat work surface. You might only be able to roll a portion, like half of the dough if you don't have a large enough work area. Roll to the thickness you like which is around 5mm for me.
Use your foot cookie cutter to cut out as many cookie feet as you can. Place the cut feet onto a lightly floured baking tray with a small gap in between each one.
⭐ NOTE: If you want to make pairs of feet, you'll have to turn some of the cookie feet upside down so you have both a left and a right foot.
Bake on Gas 4 (350°F / 177°C) for around 10-12 mins. When the feet are ready, they'll be a nice golden brown. Place onto cooling racks to cool down.
Step 3: Prepare Your Chocolate
Take about one-third of your baking chocolate bar and grate it using the large cutters on a standard grater. Put the grated chocolate to one side as that becomes the hairy detail on your Hobbit's feet!
Melt the rest of your baking chocolate. Break up the pieces and pop them into a microwaveable pouring jug like the one shown. Microwave the baking chocolate in short 20-30 second bursts (stirring with a spoon in between) until it's all nicely melted.
Step 4: Get Your Icing Equipment Ready
You might have icing bags but I definitely prefer my Kuhn Rikon squirt bottles which you can use to ice with. The main benefit to these bottles is if the melted chocolate starts to harden up again.
You can just take the top off the bottle and pop it back in the microwave to melt it back again while it's still in the bottle. Much easier. It means you can take your time and you don't have to waste any unusable chocolate.
Just pour the melted chocolate from the jug into your icing container.
Step 5: Ice on Some Chocolate Nails
Ice on 5 chocolate nails shapes onto each cookie foot where the toes are. Hold your icing nozzle at an angle so the chocolate doesn't run out too quickly. Practice on a sheet of baking paper first if you find the idea of icing daunting.
Step 6: Ice on the Hobbit Hair
Remember that if you're using a Kuhn icing bottle and the chocolate starts to harden up, you can re-melt it easily. Simply take off the top of the bottle with the metal tip and place the open bottle into your microwave. Zap in short 10 second bursts (checking in between) until it's melted again. Pop the nozzle back on and use.
Now you need to go loopy with your icing and add some rounded loops and squiggles to make a 'hairy' area of chocolate on your hobbit feet cookies. Just do one foot then move to step 7 before the chocolate hardens.
Step 7: Add the Grated Chocolate
Sprinkle your grated chocolate just over the curly hair pattern you've iced onto the cookie foot. Tap off any excess and you're left with a good impression of textured hair. Go back to step 6 and repeat for the rest of your cookie feet.
Step 8: Hairy Hobbit Feet Ready to Eat!
Leave your cookie feet somewhere cool so the chocolate can harden up before you serve them to any Hobbit fans.
Washing up your chocolate coated icing bottle is easy. Just use plenty of warm, soapy water and a bottle brush! This is a fast method for washing out the Kuhn Rikon icing bottles.
Related Content You Should Also Love:
7 Spooky Halloween Cupcake Ideas
How to Make HOBBIT Fairy Door Cookies
How to Make an Edible Chocolate Spider's Web
More Hobbit and LOTR Cookie Ideas
More Halloween Food Inspiration
How to Make HOBBIT Fairy Door Cookies
How to Make an Edible Chocolate Spider's Web
More Hobbit and LOTR Cookie Ideas
More Halloween Food Inspiration
Page Last Updated:


Comments
Post a Comment
Just Halloween Crafts is a site dedicated to my favorite time of year and the whole spook time season that surrounds October 31st. I love to decorate the home with handmade, DIY and crafted items for Halloween as well as make costume accessories and do fun crafting activities. Using papercrafts, sewing with felt, no-sew techniques and more, you can create a wonderful scheme to your decor whether you are going for scary themes or more fun ones with pumpkins and more. Ghosts, witches, wizards and more make for fun crafting sessions. Thanks for leaving me a comment. Comments do not show until I approve them. Marie