How to Make Skull Earrings With Perler Beads
Learn how to make skull earrings with the craft of Perler beads. This fun and ever so easy craft is ideal for adults and older children to enjoy. It is the perfect activity that families can enjoy over the colder, winter months.
With Halloween just around the corner, why not make yourself some easy skull earrings to wear for the occasion. These make a great costume accessory as well as being a fun craft to make.
Use some fused beads like Perler or Hama beads to create some very cute earrings or other items of jewelry such as necklaces that you can wear come October 31st. Freak everyone out with your funky skull earrings.
Note: This post may contain affiliate links for which I can be compensated.

Image Credit: photo belongs to the author.
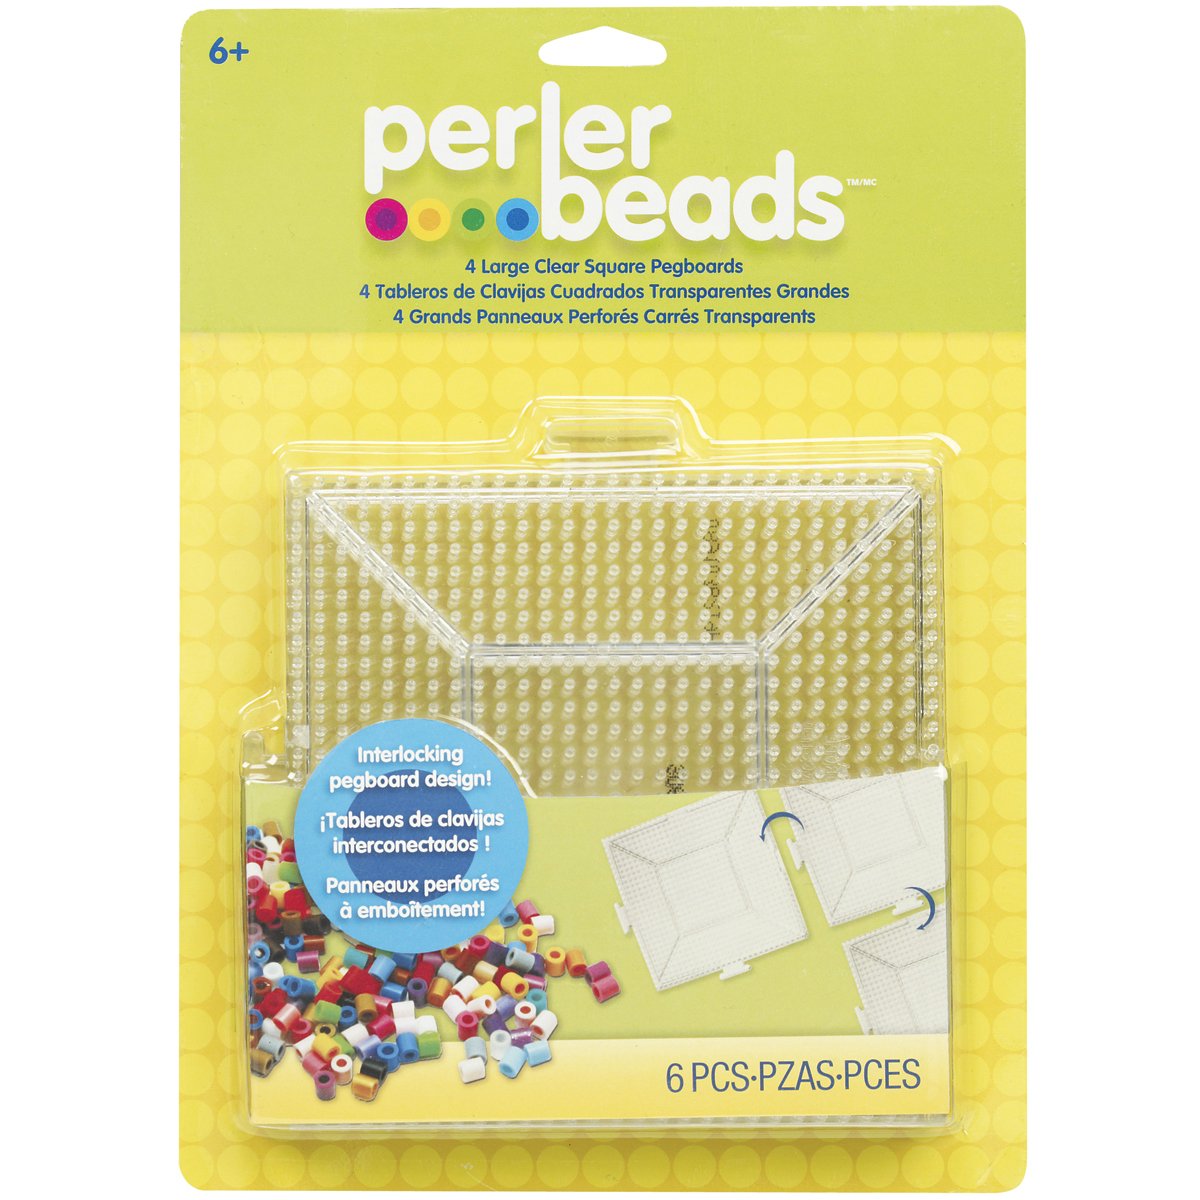
This simple black and white skull design is a quick and easy motif to make using Perler or Hama fused beads. If you've never used these fused beads before, you need some beads and a square pegboard (small or large) to make this pattern.
All you need to do is work a simple pattern of beads over the board. When done, an adult places the special ironing paper on top and irons over to fuse the beads together so they all stick. Once cool, the motif comes off the board and is ready to use as you wish.
The Supplies You Need:
1 square Perler (or Hama) pegboard, small or large
13 black Perler beads per skull
38 white beads per skull

Image Credit: photo belongs to the author.
It should be fairly easy to copy the photo above to make your own skull motifs. If you are stuck for a starting point, place the middle black bead first. It is positioned 5 pegs across from the left side and 4 pegs up from the bottom.
This makes a very good starting point. Once you have that bead placed, you can then quickly add in the black eye sockets which are made using 4 beads each and then add in the white beads around them.

UK Readers should get Hama Beads from Amazon.co.uk
Although I've used black and white, you could use other colors to make your skulls. I would stick to using just 2 colors for this simple pattern. How about bright monster green and black or pumpkin orange and black for Halloween.
Once you've finished the pattern, an adult needs to lay the Hama or Perler ironing paper over the top and iron the design to fuse the beads together as per the manufacturer instructions. When cooled, the beads should stick together and the whole motif will come off the pegboard.
The Supplies You Need:
2 matching skull bead designs
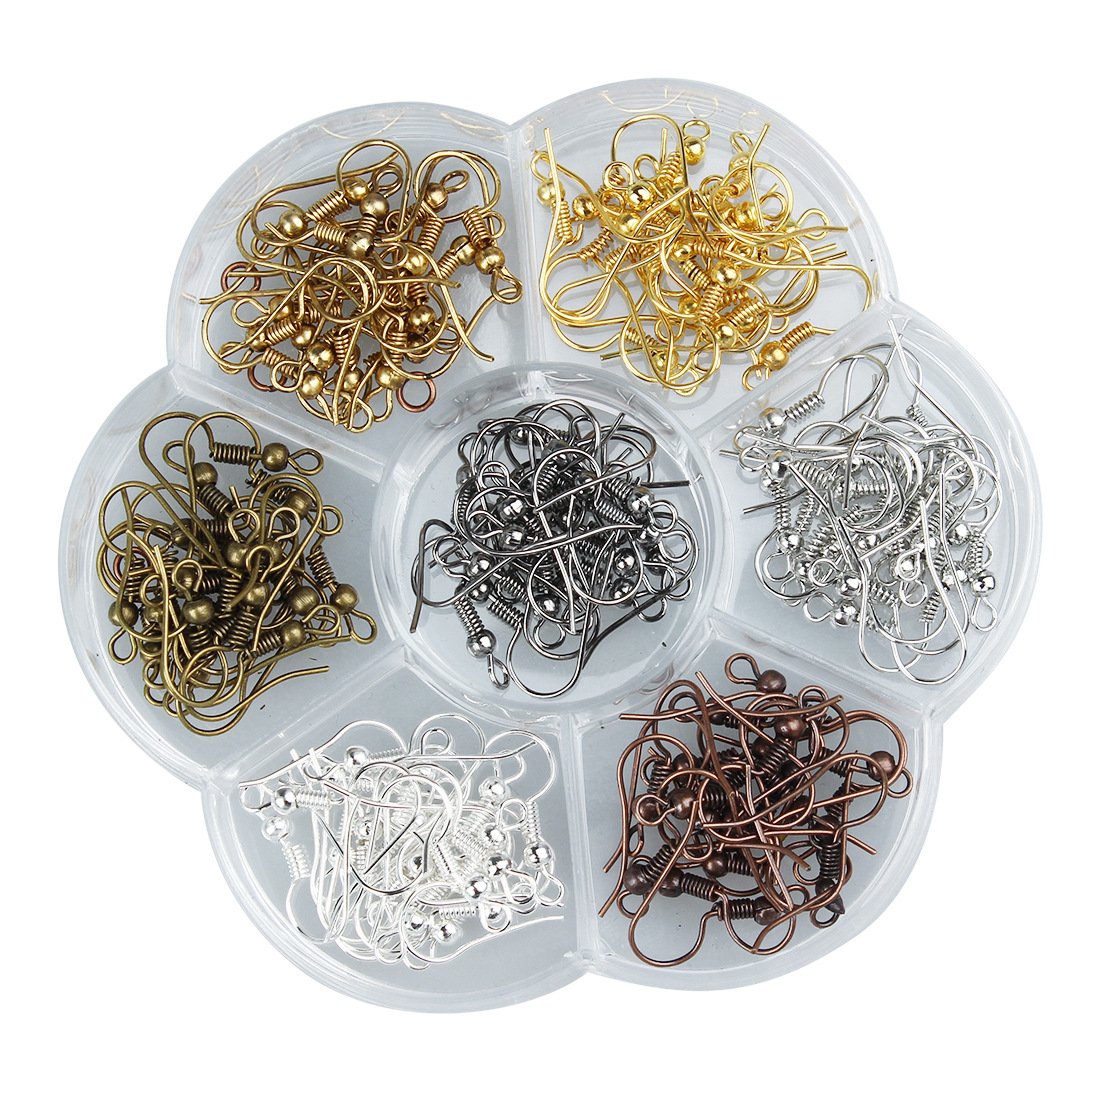
Blank earring hooks
Open jump rings, around 8-12 mm in size works well
Jewelry pliers and tweezers if you have them

Image Credit: photo belongs to the author.
This photo above shows the jewelry making equipment needed in order to make this simple Halloween craft project.
There are some blank earring hooks, open jump rings (which are round rings which have a break in them to open and close) a pair of small jewelry pliers and your finished little skull patterns.

Image Credit: photo belongs to the author.
First you need to open one of the jump rings a little. If you don't already know, open jump rings are small metal rings. They are not whole rings since they always have a break or opening in them. They are designed so that they can be pulled apart.
Get hold of a jump ring with the pliers on one side. Then use some tweezers if you have them to pull at the other side of the ring so you can open up the gap. Depending on how pliable and soft the metal is, you may be able to use your fingers instead.
Push the partially opened jump ring through the middle hole at the top of the skull design on one of your Halloween beaded motifs. You need a hole at the top of the skull design and preferably in the middle so that the earring will hang properly when you wear it.
If the hole in your fused bead skull is not big enough, you can use a paperclip end or similar to widen it. The holes in the skull design may have closed over too much from when they were ironed. You then need to widen them by inserting something through with a very fine point like a paperclip or needle which will then make the hole wide enough for the jump ring to pass through.

Image Credit: photo belongs to the author.
Once you have the open jump ring attached through a hole near the top of your completed Perler bead design, you need to add on a blank earring hook. Slip the bottom ring of the blank hook over the top section of the jump ring as shown in the photo.
Close up the jump ring with your jewelry pliers. This will ensure that the earring hooks are attached properly to the skull design.
Image Credit: photo belongs to the author.

To finish up, you might need to twist the ends of the earring hook depending how you want the skull patterns to hang down when worn in your ears. These not only make fun, novelty DIY Halloween earring designs to wear but also make great little gifts too.
Related Content You Should Also Love:
Page Last Updated:
With Halloween just around the corner, why not make yourself some easy skull earrings to wear for the occasion. These make a great costume accessory as well as being a fun craft to make.
Use some fused beads like Perler or Hama beads to create some very cute earrings or other items of jewelry such as necklaces that you can wear come October 31st. Freak everyone out with your funky skull earrings.
Note: This post may contain affiliate links for which I can be compensated.
How to Make Skull Earrings Using a Simple Fused Beads Craft. Rock the Look This Halloween
Image Credit: photo belongs to the author.
This simple black and white skull design is a quick and easy motif to make using Perler or Hama fused beads. If you've never used these fused beads before, you need some beads and a square pegboard (small or large) to make this pattern.
All you need to do is work a simple pattern of beads over the board. When done, an adult places the special ironing paper on top and irons over to fuse the beads together so they all stick. Once cool, the motif comes off the board and is ready to use as you wish.
Step 1: Make 2 Perler Bead Skull Motifs
The Supplies You Need:
1 square Perler (or Hama) pegboard, small or large
13 black Perler beads per skull
38 white beads per skull
Image Credit: photo belongs to the author.
It should be fairly easy to copy the photo above to make your own skull motifs. If you are stuck for a starting point, place the middle black bead first. It is positioned 5 pegs across from the left side and 4 pegs up from the bottom.
This makes a very good starting point. Once you have that bead placed, you can then quickly add in the black eye sockets which are made using 4 beads each and then add in the white beads around them.
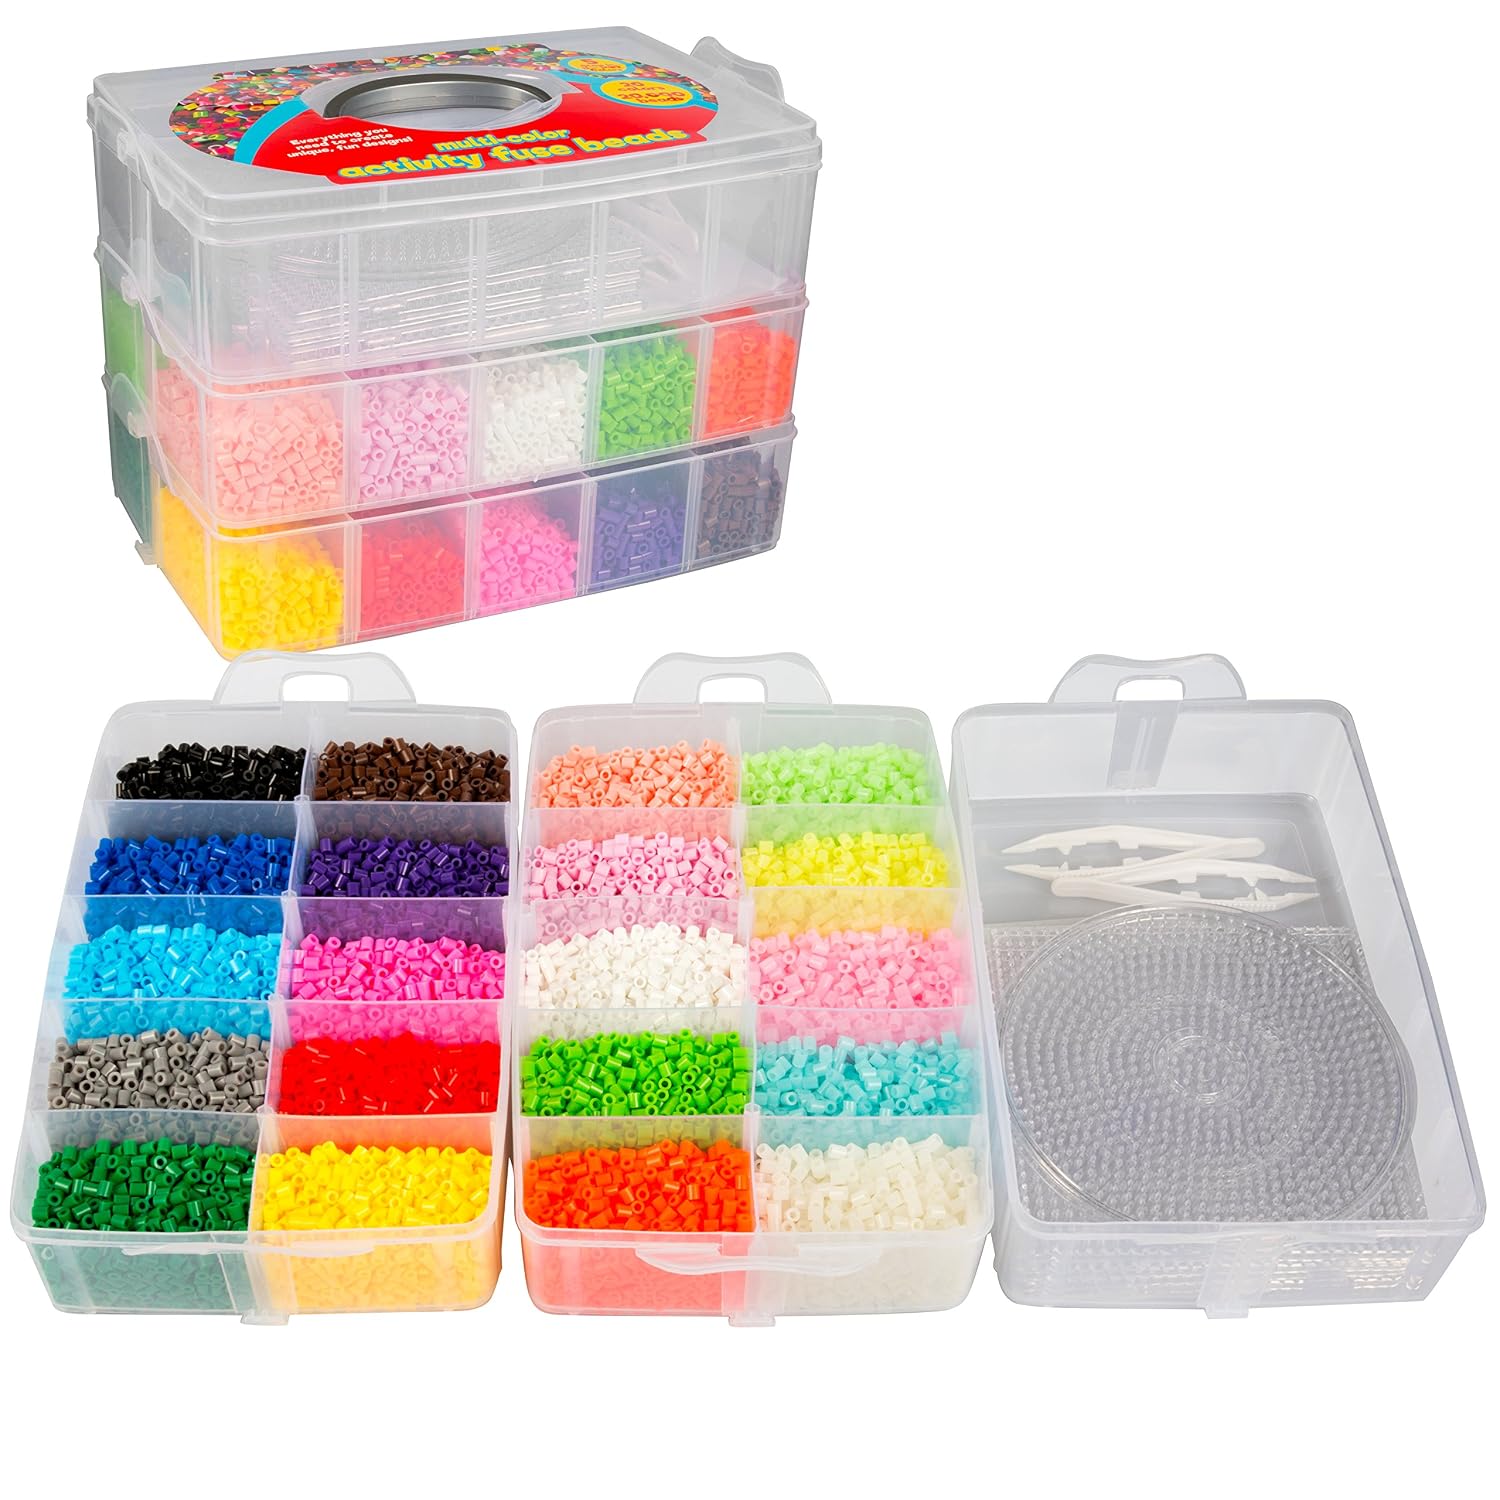
Perler Bead Supplies for This Craft
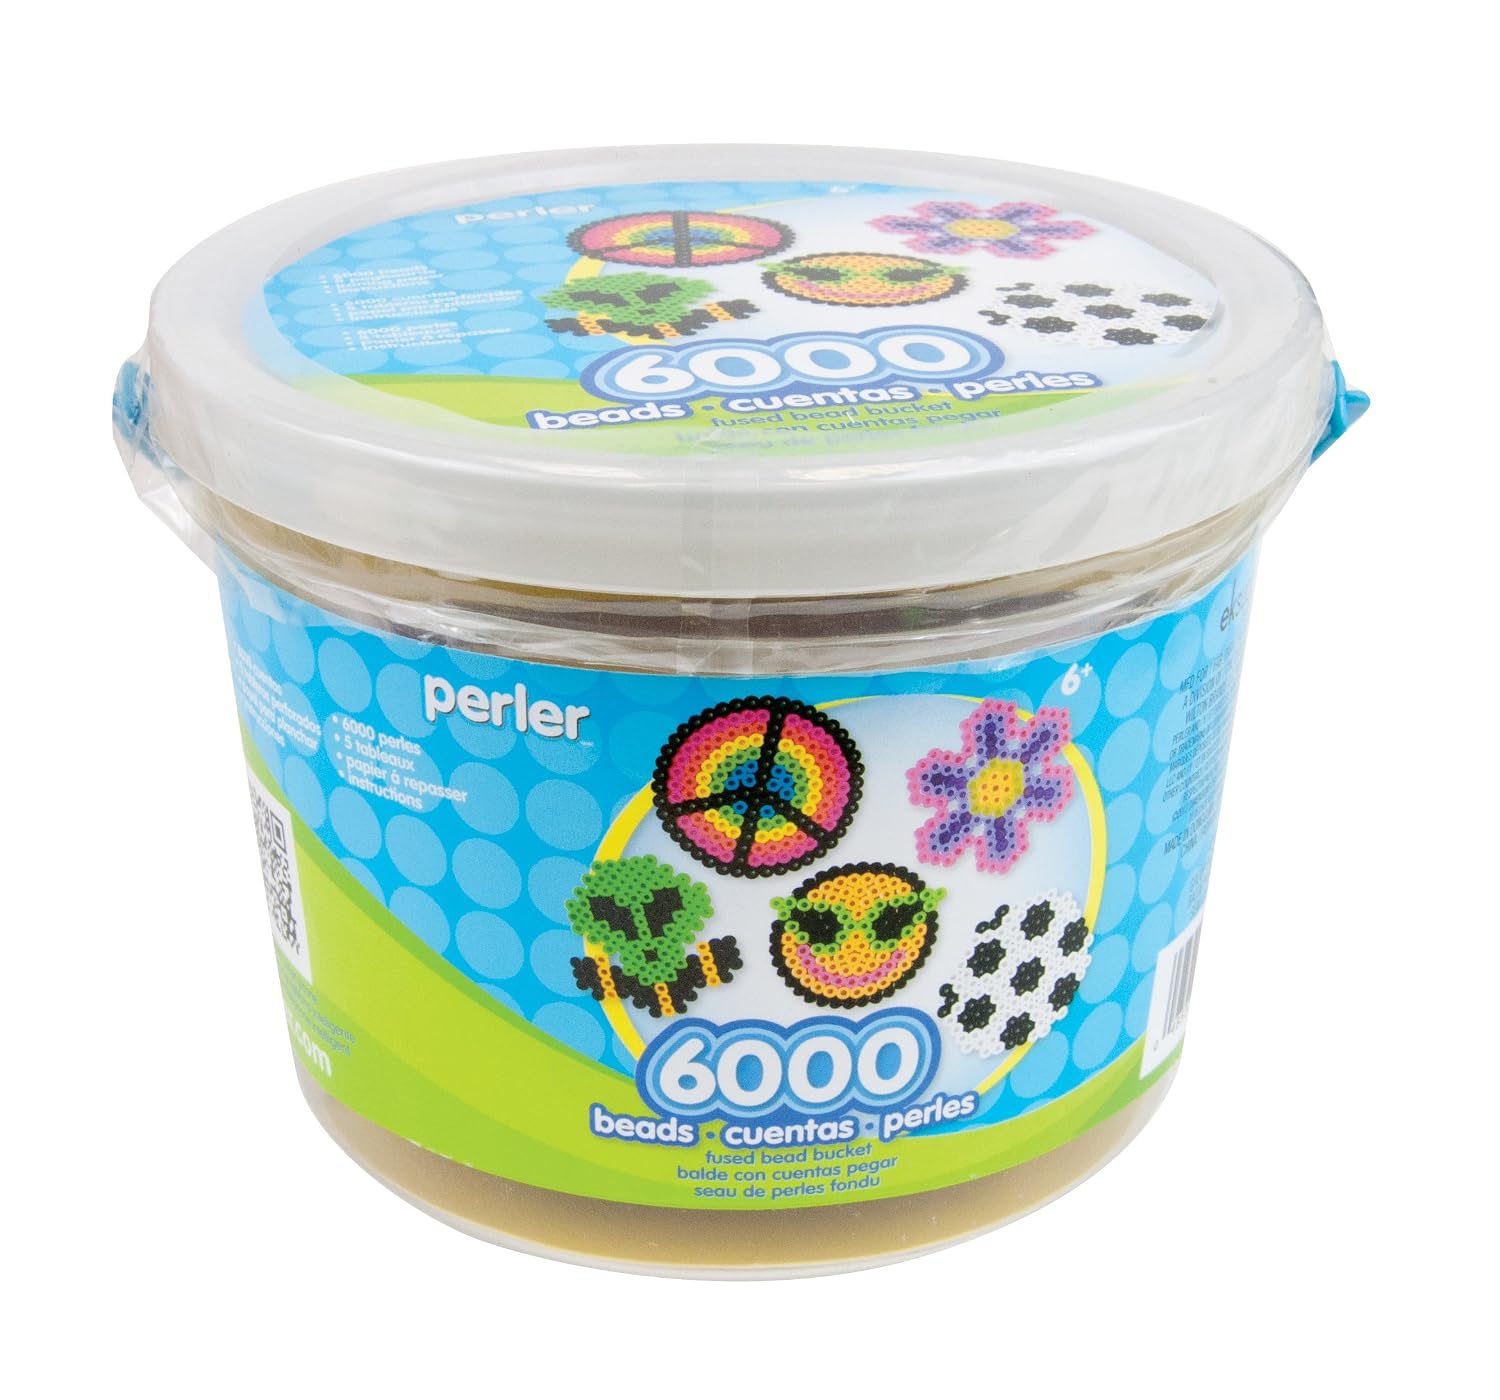

UK Readers should get Hama Beads from Amazon.co.uk
Although I've used black and white, you could use other colors to make your skulls. I would stick to using just 2 colors for this simple pattern. How about bright monster green and black or pumpkin orange and black for Halloween.
Once you've finished the pattern, an adult needs to lay the Hama or Perler ironing paper over the top and iron the design to fuse the beads together as per the manufacturer instructions. When cooled, the beads should stick together and the whole motif will come off the pegboard.
Step 2: Equipment to Turn Your Skull Motifs into Earrings
The Supplies You Need:
2 matching skull bead designs
Blank earring hooks
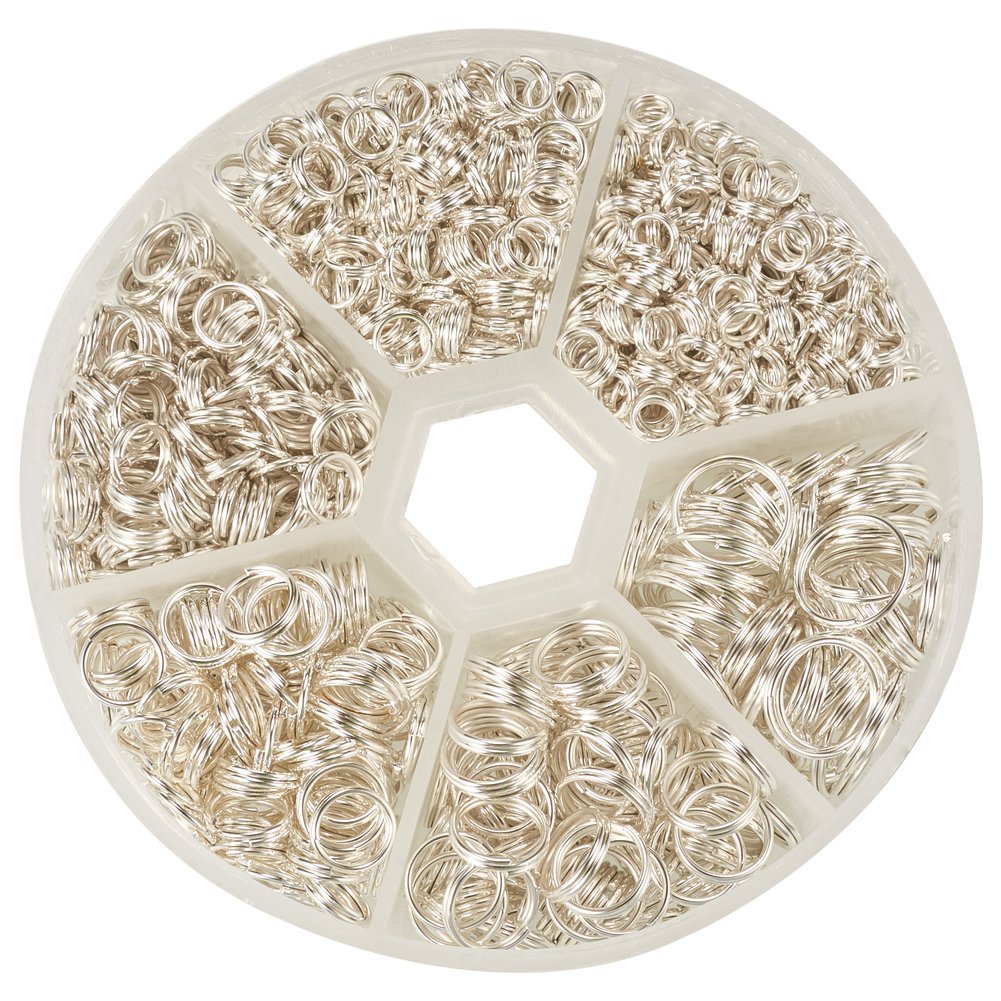
Open jump rings, around 8-12 mm in size works well
Jewelry pliers and tweezers if you have them
Image Credit: photo belongs to the author.
This photo above shows the jewelry making equipment needed in order to make this simple Halloween craft project.
Turn Your Skulls into Earrings With Earring Hooks and Open Jump Rings
There are some blank earring hooks, open jump rings (which are round rings which have a break in them to open and close) a pair of small jewelry pliers and your finished little skull patterns.
Step 3: Adding the Jump Rings to the Top of the Skulls
Image Credit: photo belongs to the author.
First you need to open one of the jump rings a little. If you don't already know, open jump rings are small metal rings. They are not whole rings since they always have a break or opening in them. They are designed so that they can be pulled apart.
Get hold of a jump ring with the pliers on one side. Then use some tweezers if you have them to pull at the other side of the ring so you can open up the gap. Depending on how pliable and soft the metal is, you may be able to use your fingers instead.
Push the partially opened jump ring through the middle hole at the top of the skull design on one of your Halloween beaded motifs. You need a hole at the top of the skull design and preferably in the middle so that the earring will hang properly when you wear it.
If the hole in your fused bead skull is not big enough, you can use a paperclip end or similar to widen it. The holes in the skull design may have closed over too much from when they were ironed. You then need to widen them by inserting something through with a very fine point like a paperclip or needle which will then make the hole wide enough for the jump ring to pass through.
Step 4: Turning the Skulls into Finished Earrings to Wear
Image Credit: photo belongs to the author.
Once you have the open jump ring attached through a hole near the top of your completed Perler bead design, you need to add on a blank earring hook. Slip the bottom ring of the blank hook over the top section of the jump ring as shown in the photo.
Close up the jump ring with your jewelry pliers. This will ensure that the earring hooks are attached properly to the skull design.
Step 5: Completed Perler Bead Skull Earrings for Halloween
Image Credit: photo belongs to the author.
To finish up, you might need to twist the ends of the earring hook depending how you want the skull patterns to hang down when worn in your ears. These not only make fun, novelty DIY Halloween earring designs to wear but also make great little gifts too.
Related Content You Should Also Love:
Sugar Skull Perler Beads Pattern to Make
How to Make Perler Bead Spider Webs
More Halloween Perler Bead Patterns and Ideas
More Skeleton and Skull Posts
How to Make Perler Bead Spider Webs
More Halloween Perler Bead Patterns and Ideas
More Skeleton and Skull Posts
Page Last Updated:


Comments
Post a Comment
Just Halloween Crafts is a site dedicated to my favorite time of year and the whole spook time season that surrounds October 31st. I love to decorate the home with handmade, DIY and crafted items for Halloween as well as make costume accessories and do fun crafting activities. Using papercrafts, sewing with felt, no-sew techniques and more, you can create a wonderful scheme to your decor whether you are going for scary themes or more fun ones with pumpkins and more. Ghosts, witches, wizards and more make for fun crafting sessions. Thanks for leaving me a comment. Comments do not show until I approve them. Marie