DIY Luna Lovegood Costume: Radish Earrings and Easy Accessories

A DIY Luna Lovegood costume is mostly about the accessories. Make a pair of radish earrings from polymer clay or felt, string a necklace of bottle corks, cut a pair of oversized "Spectrespecs" glasses from card, and wear them with a school robe or a mix of bright, mismatched clothes. Add a wand and, if you want something bold, a lion hat. Everything here takes an afternoon at the kitchen table.
Luna is a favorite because the look is meant to be a little odd, so homemade pieces suit her better than shop-bought perfection. Below you will find what to gather, step-by-step instructions for each accessory, a comparison of earring methods, outfit ideas, and safety notes for children. If you want to read up on the character first, our Luna Lovegood quotes page covers who she is in the books.
What You Need
- Polymer clay in red or magenta and green (for clay earrings), or felt in the same colors (for a softer version)
- Earring hooks or clip-on earring backs, and two small jump rings
- Small round-nose pliers, a craft knife and a toothpick
- 6 to 10 bottle corks, an awl or thick needle, and about 30 inches (75 cm) of cord or ribbon
- Thin card or a cereal box, colored cellophane, paint or markers, and a ruler
- Glue: PVA for card, fabric glue or a hot glue gun for felt
- For the lion hat (optional): a plain headband, yellow and brown felt, and yellow or orange yarn
- A robe, cardigan or bright thrifted clothes, and a wand
Step 1: Make the Radish Earrings
Radish earrings are the one piece people recognize instantly, so make these first and give them a little time to dry or cool.
- Shape the radish: roll a ball of red or magenta clay about the size of a large pea. Gently pinch one end into a short point so it looks like a root, and roll the very tip thin between your fingers.
- Add the leaves: flatten three tiny teardrops of green clay, press a line down each one with a toothpick for a vein, and press them onto the top of the radish so they fan out.
- Add a loop: push a small eye pin, or a short loop of craft wire, down through the leaves into the radish. This is what the earring hook will hang from.
- Bake: bake the radishes on a tray lined with paper, following the temperature and time printed on your clay packet. Let them cool fully before handling.
- Attach the hooks: open a jump ring sideways with pliers, slide it through the loop and the earring hook, and twist it closed.
For a no-bake option, cut two radish shapes from red felt and two leaf shapes from green felt for each earring, glue them together with a little stuffing in between, and stitch a thread loop at the top. A red pom pom with felt leaves glued on top also works; our pom pom wand tutorial shows how to make small pom poms.
Which Radish Earring Method Should You Choose?
Polymer clay looks the most realistic, while felt and pom pom versions are lighter and better for young children.
| Method | Time | Weight | Best for |
|---|---|---|---|
| Polymer clay | About 1 hour including baking | Light, firm | Teens and adults, keepsake earrings |
| Felt with stuffing | About 30 minutes | Very light, soft | Children, clip-on backs, no oven needed |
| Pom pom | About 20 minutes | Very light | Quick party costumes, brooches |
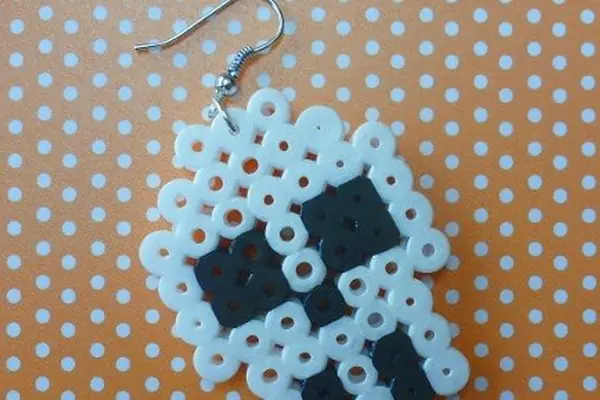
If you enjoy making costume jewelry, our Perler bead skull earrings use the same hooks and jump rings.
Step 2: String a Cork Necklace
A cork necklace is quick to make and adds the slightly eccentric touch the character is known for.
- Collect the corks: natural corks pierce more easily than plastic ones.
- Make the holes: an adult should push an awl or a thick needle sideways through the narrow end of each cork. Press down onto a cutting board, never towards your hand.
- Thread and space: thread the corks onto cord, tying a simple knot between each one so they do not slide together.
- Finish: tie the ends with a secure knot long enough to slip over the head easily.
Step 3: Cut Out Spectrespecs Glasses
The oversized, colorful glasses are easy to make from card and cellophane.
- Draw the frame: on thin card, draw two large rounded lens shapes joined by a bridge. Make each lens wider than your eye, and draw a thick border around each one.
- Cut and test: cut out the frame and the lens holes, then hold it up to the face to check the bridge sits on the nose.
- Add arms: cut two long strips of card for the arms, fold a short tab at one end of each and glue the tabs to the outer edges of the frame.
- Decorate: paint the frame in bright pinks, blues and greens, with swirls or dots. Let it dry.
- Add the lenses: glue colored cellophane behind each lens hole.
Tip: Make the glasses so they can be pushed up onto the head like a headband. That way they become part of the look without being worn over the eyes all evening.
Step 4: Make a Lion Hat Headband (Optional)
A lion hat is the most dramatic Luna accessory, and a headband version is far easier than a full hat.
- Cut a lion face about the width of the headband from yellow felt, with two round ears.
- Add a nose, eyes and a mouth from brown felt with fabric glue.
- Wrap yellow and orange yarn around a book or a piece of card about 4 inches (10 cm) wide, cut along one edge, and glue the strands around the face as a mane.
- Glue the face onto the front of a plain headband and let it dry before wearing.
Step 5: Put the Outfit Together
You can dress Luna two ways: in a school robe, or in her off-duty style of bright, mismatched clothes.
- School version: a black robe, a white shirt, a gray skirt or trousers, and a blue tie or scarf. If you do not have a robe, our guide to a DIY wizard robe turns a graduation gown or a bathrobe into one.
- Off-duty version: layer a pastel cardigan over a patterned dress or skirt, add colorful tights, and mix prints that do not normally go together.
- Wand: make one from a stick or chopstick with our hot glue wizard wand tutorial.
Troubleshooting and Variations
- Clay radish cracked in the oven: the clay was too thin at the tip or not conditioned enough. Knead the clay until it is soft before shaping, and keep the root at least as thick as a matchstick.
- Earrings too heavy: make the radishes smaller, or switch to felt.
- Glasses keep sliding: add a strip of elastic from arm to arm behind the head.
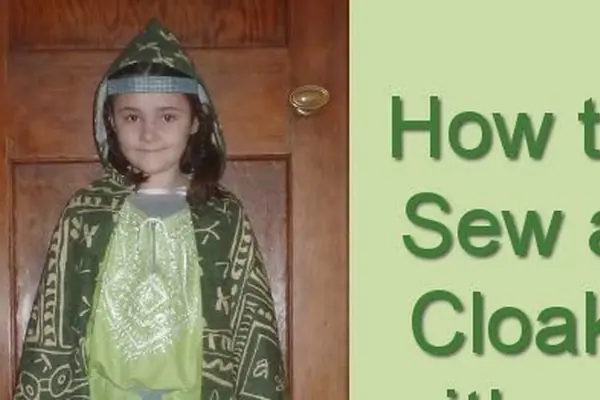
- Group costume: pair Luna with friends dressed as other wizarding students, using our hooded cloak guide for the rest of the group.
Safety Note
Polymer clay, jump rings and corks are small parts, so keep them away from babies and toddlers and supervise younger children while crafting. Children without pierced ears should use clip-on backs. Bake polymer clay only as directed on the packet and do not use the same tray for food without cleaning it. Cardboard glasses with cellophane lenses reduce vision, so take them off before walking in the dark, crossing roads or going up and down stairs, and never use them in place of real prescription glasses.
How do you make Luna Lovegood radish earrings?
Roll a small ball of red or magenta polymer clay, pinch one end into a root, and press three tiny green clay leaves onto the top. Push in an eye pin, bake following the packet instructions, then attach earring hooks with jump rings. Felt or pom poms work if you do not want to use an oven.
What do you need for an easy Luna Lovegood costume?
The essentials are radish earrings, a cork necklace and a pair of colorful oversized glasses. Wear them with a school robe and blue tie, or with bright mismatched clothes from your wardrobe. A wand and a lion headband are optional extras that make the costume more recognizable.
Can kids wear a Luna Lovegood costume?
Yes. For children, make felt radish earrings with clip-on backs, use a soft cord for the necklace, and keep the cardboard glasses pushed up on the head while walking. The lion headband and a robe made from a bathrobe are comfortable and easy to take on and off.
Luna's look rewards a bit of imagination, so do not worry if your radishes are lopsided or your glasses are wildly painted; that is part of the charm. For more ideas, see our last-minute DIY Halloween costumes, make a matching cape with how to make a kids' cape, or explore more fantasy costume crafts for the whole family.