Perler Bead Witch Owl Pattern for Halloween
Have a hoot making a cute looking owl design for Halloween which is topped off with a pointy witch hat with buckle. This pattern has been made using fused Perler beads although you can use other brands such as Hama.
These Perler Bead witch owl designs have been made for decorations to place around the home during October. I'll probably add some twine or cord to the back for hanging these up as door or wall decor.
You could prop these up on a shelf, have them peeking out a window or use them to make large coasters for the occasion. I'll be happy to hear what you use them for in the comments section.
Note: This post may contain affiliate links for which I can be compensated.

This witch pixel design would also lend itself pretty well to other crafts such as cross stitch if you prefer to do that instead of using Perler beads.
Materials and Tools Needed:
Note: if you want to use beads that don't require ironing, have a look at Qixels available at Amazon which work in a similar way but are square beads that kids can join together themselves by spraying with water instead.

Step 1: locate the bottom middle of the large, square pegboard. You need 6 brown beads to make little feet / claws for the owl as shown above.
The claws are made with two tiny triangular shapes on either side of the central bottom peg.

Step 2: once you have the claws in place, it become easier to work the outline of the owl's body using black beads.
You can use another color instead of black but this makes a good choice for an outline or pick another dark shade instead.
You should get as high as the 11th peg up from the bottom. Click on the image if you need to see the design more clearly.

Step 3: once you have the main body in place, you can start to add the outline for each wing at either side.
Use the top of the body to work out where the little yellow beak goes and a few other facial features.

Step 4: you need more black beads for the middle of the owl's eyes and 16 white beads which go around each eye area.
I also added 4 brown beads (these match the feet or claws) at the top of the owl's face.

Step 5: now you can easily move on to making the witch's hat for the top of the bird's head. I used purple for the hat which gives a good contrast with all the black beads. If you want a black hat then you'll need to use a different color for all the other outline beads.
The bottom of the hat is easy because you are making two straight rows across the top of the owl's head. Next you are adding in a black sash ribbon around the middle of the hat and a yellow (gold) buckle.

Step 6: add purple beads on top of the ribbon and buckle area of the hat as shown here.

Step 7: just 4 more purple beads make the point of the hat on the right side as shown.

Step 8: now the witch hat is complete, it is easy to move down and focus on the face. I added some dark green beads in around the eyes and a few black beads around the beak area. Finish off the tops of the wings too.

Step 9: now you can fill in the rest of the green beads around the eyes and a few more black beads to finish the facial area. The hardest parts are all done!

Step 10: this bit is now just like coloring in but with beads. I used cream and two shades of orange to create striped wings rather like candy corn.

Step 11: next I used purple for the body area with 9 white beads in small triangle patterns to look a bit like ruffled feathers.

Once you've made one, it is easy to make more and add in colors that you want to use instead. I made one with a green hat as well shown below.

Most people associate cats as being a witch's familiar or companion that aids this female character with magic. However, birds and indeed any animal could also serve a witch in this way. Maleficent in Sleeping Beauty had a raven called Diablo who was called Diaval in the most recent movie.
Aside from this, these particular birds have long been associated with Halloween probably because they are creatures of the night being nocturnal animals. Therefore they are steeped in mystery and superstition.
I hope you've enjoyed reading my justhalloweencrafts page today, thanks for your visit. The owls we have conjured up here are definitely too cute to be anything but friendly.
Related Content You Should Also Love:
Page Last Updated:
These Perler Bead witch owl designs have been made for decorations to place around the home during October. I'll probably add some twine or cord to the back for hanging these up as door or wall decor.
You could prop these up on a shelf, have them peeking out a window or use them to make large coasters for the occasion. I'll be happy to hear what you use them for in the comments section.
Note: This post may contain affiliate links for which I can be compensated.
Perler Bead Witch Owl Pattern to Make for Halloween
This witch pixel design would also lend itself pretty well to other crafts such as cross stitch if you prefer to do that instead of using Perler beads.
Materials and Tools Needed:
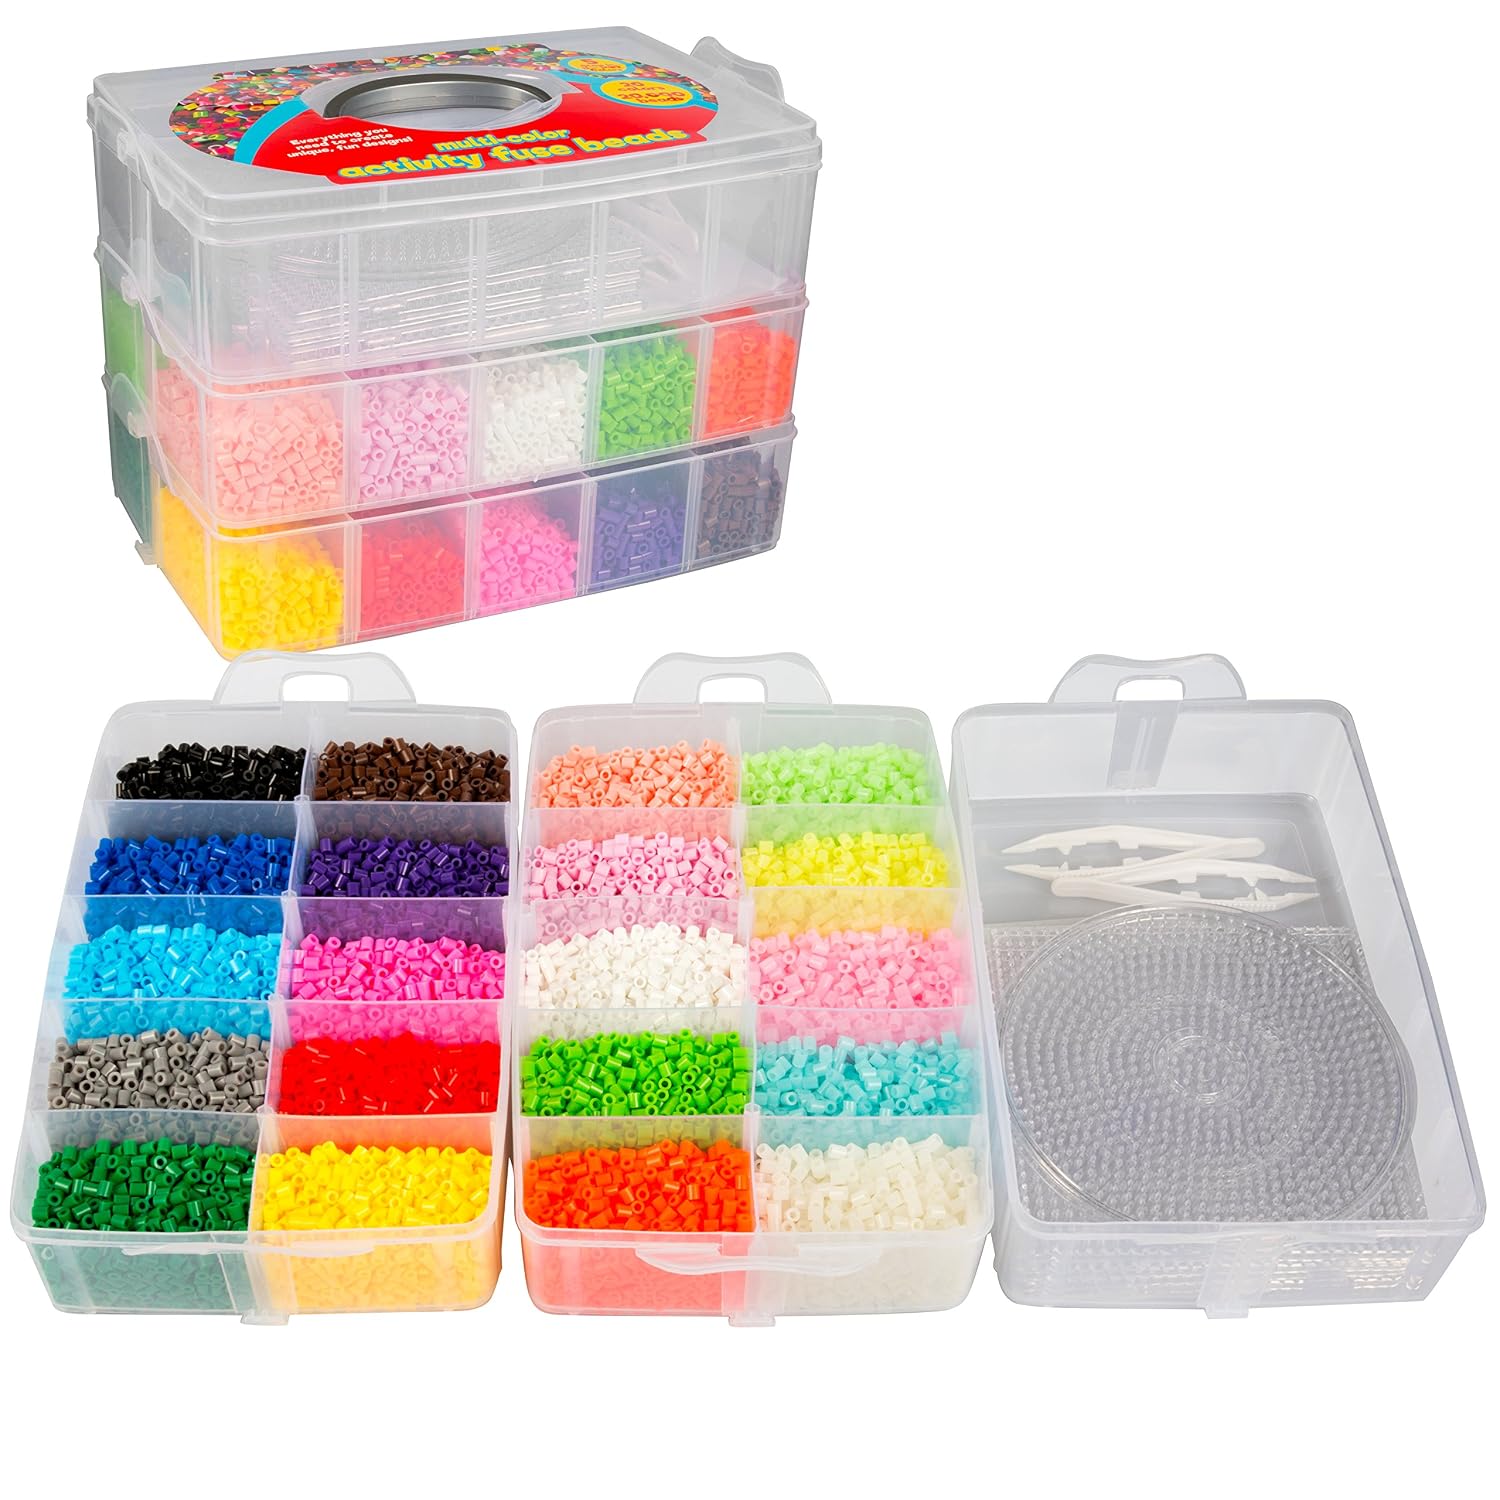
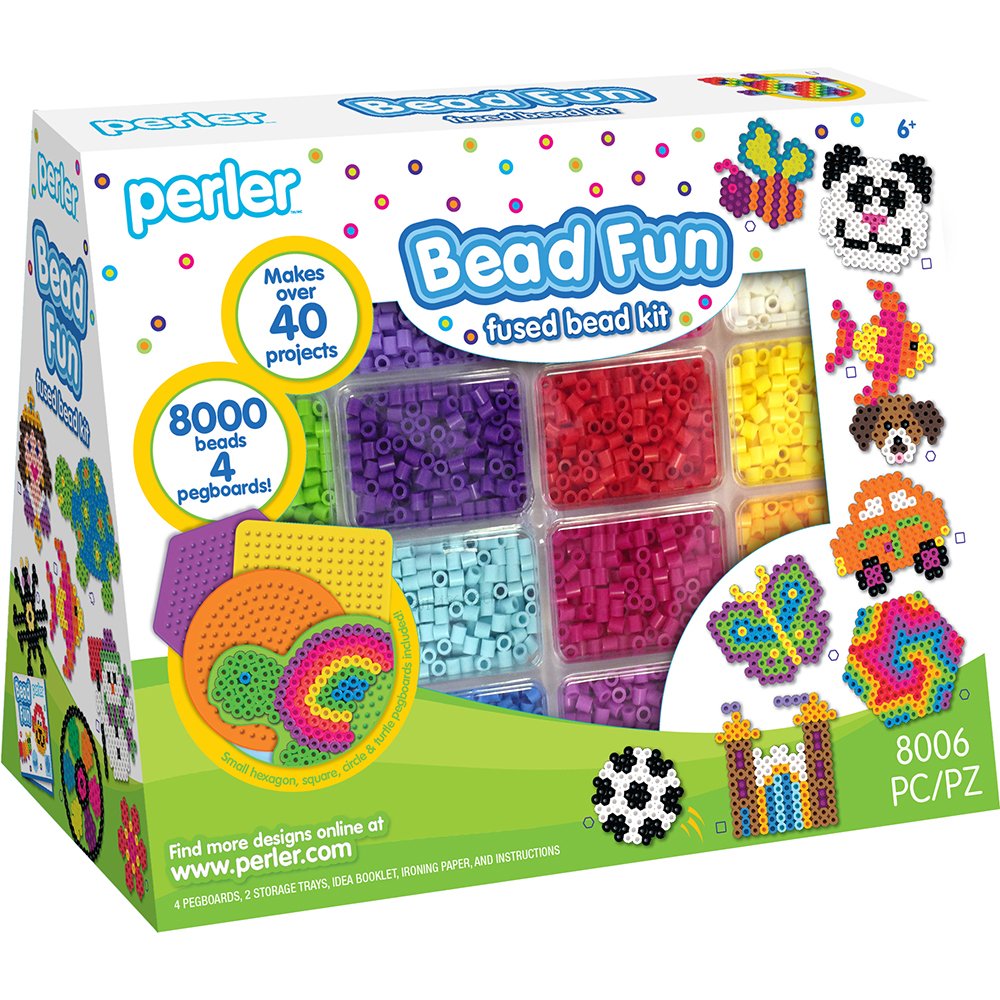
- 1 large square fused bead pegboard
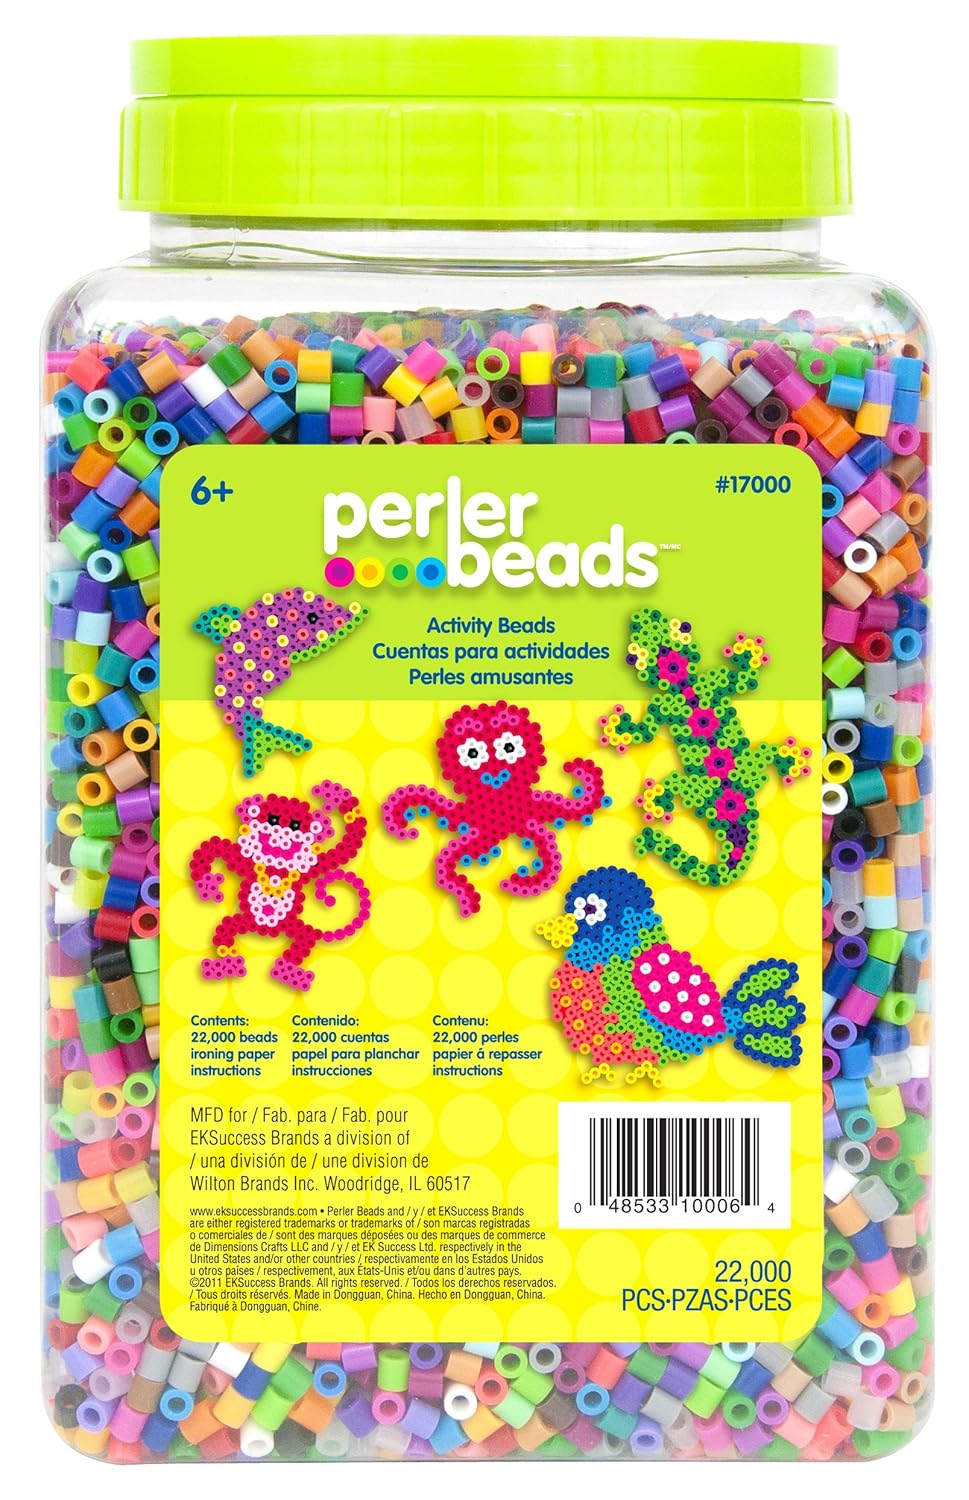
- An assortment of Perler beads - purples, blacks, greens and oranges are good choices
- Special ironing paper and an adult to iron the completed designs
Note: if you want to use beads that don't require ironing, have a look at Qixels available at Amazon which work in a similar way but are square beads that kids can join together themselves by spraying with water instead.
Step 1: locate the bottom middle of the large, square pegboard. You need 6 brown beads to make little feet / claws for the owl as shown above.
The claws are made with two tiny triangular shapes on either side of the central bottom peg.
Step 2: once you have the claws in place, it become easier to work the outline of the owl's body using black beads.
You can use another color instead of black but this makes a good choice for an outline or pick another dark shade instead.
You should get as high as the 11th peg up from the bottom. Click on the image if you need to see the design more clearly.
Step 3: once you have the main body in place, you can start to add the outline for each wing at either side.
Use the top of the body to work out where the little yellow beak goes and a few other facial features.
Step 4: you need more black beads for the middle of the owl's eyes and 16 white beads which go around each eye area.
I also added 4 brown beads (these match the feet or claws) at the top of the owl's face.
Step 5: now you can easily move on to making the witch's hat for the top of the bird's head. I used purple for the hat which gives a good contrast with all the black beads. If you want a black hat then you'll need to use a different color for all the other outline beads.
The bottom of the hat is easy because you are making two straight rows across the top of the owl's head. Next you are adding in a black sash ribbon around the middle of the hat and a yellow (gold) buckle.
Step 6: add purple beads on top of the ribbon and buckle area of the hat as shown here.
Step 7: just 4 more purple beads make the point of the hat on the right side as shown.
Step 8: now the witch hat is complete, it is easy to move down and focus on the face. I added some dark green beads in around the eyes and a few black beads around the beak area. Finish off the tops of the wings too.
Step 9: now you can fill in the rest of the green beads around the eyes and a few more black beads to finish the facial area. The hardest parts are all done!
Step 10: this bit is now just like coloring in but with beads. I used cream and two shades of orange to create striped wings rather like candy corn.
Step 11: next I used purple for the body area with 9 white beads in small triangle patterns to look a bit like ruffled feathers.

Once you've made one, it is easy to make more and add in colors that you want to use instead. I made one with a green hat as well shown below.
Most people associate cats as being a witch's familiar or companion that aids this female character with magic. However, birds and indeed any animal could also serve a witch in this way. Maleficent in Sleeping Beauty had a raven called Diablo who was called Diaval in the most recent movie.
Aside from this, these particular birds have long been associated with Halloween probably because they are creatures of the night being nocturnal animals. Therefore they are steeped in mystery and superstition.
I hope you've enjoyed reading my justhalloweencrafts page today, thanks for your visit. The owls we have conjured up here are definitely too cute to be anything but friendly.
Related Content You Should Also Love:
More Halloween Perler Bead Patterns Here
Sugar Skull Pattern Tutorial
Easy Peasy Disney Maleficent Design
More on Perler Beads
Sugar Skull Pattern Tutorial
Easy Peasy Disney Maleficent Design
More on Perler Beads
Page Last Updated:
Comments
Post a Comment
Just Halloween Crafts is a site dedicated to my favorite time of year and the whole spook time season that surrounds October 31st. I love to decorate the home with handmade, DIY and crafted items for Halloween as well as make costume accessories and do fun crafting activities. Using papercrafts, sewing with felt, no-sew techniques and more, you can create a wonderful scheme to your decor whether you are going for scary themes or more fun ones with pumpkins and more. Ghosts, witches, wizards and more make for fun crafting sessions. Thanks for leaving me a comment. Comments do not show until I approve them. Marie