How to Make a Witch Spell Book Tutorial
A witch's spell book prop makes a great decoration for a large display unit and I wanted one. I didn't care to spend too much time making this Halloween prop because I've got lots of other decorations to work on too.
I came up with this quick witch spell book tutorial which doesn't take hours of your time to make and looks simply amazing. You just need to allow some drying time for thick coats of paint and glitter.
Grab yourself a hard cover notebook or unwanted reading book that you can use to turn into a feature Halloween piece. Your completed book will sit on a display shelf, book case, mantel or a stand where it can be admired and appreciated by all your guests.
Note: This post may contain affiliate links for which I can be compensated.

My DIY spell book really picks up the light in the evening and the glitter and tiny little sequins really sparkle and shine. This works with a witch, wizard or fantasy theme such as Harry Potter and is a really fun craft.
Note: glue guns are for adult use only. Kids can use adhesive such as Elmer's School Glue which is washable and non-toxic or any other brand of non-toxic white PVA glue.

Draw out a rough design on the front of your book. A Sharpie marker pen comes in handy for this.
Step 1: Draw a rough design out onto the front cover of your book. I drew a simple spiderweb design in the top corner leading down to the wording "Spells" across the bottom.
You could write "Book of Spells" across the cover if you just want text. You can always use a word processing program on a computer to print some fancy looking font out to stick over your book cover if you don't like your own handwriting.

Stick twine or cord over the lines of your design. A glue gun makes fast work of this.
Step 2: I like to use a hot glue gun for this because it makes the project nice and quick. If you use a different choice of adhesive, you need one that will stick fabric to paper. We need a fabric glue ideally because we are using twine or cord.
Trace along a section of your design with the adhesive and then quickly place the twine or cord over the top before it dries. So you're going over your drawn pattern with the twine or cord, making a raised design.

The main lines of my Spells design have been covered with twine so that the lines stick out.
Step 3: It doesn't matter too much if you are not terribly neat, so long as the cording is well stuck down.
You could use thicker and thinner pieces of cord or twine depending on how detailed your drawn design is to follow.

Add even more twine on top of areas that you want to stand out more. The finished design looks better if the lines are nice and raised.
Step 4: All the design has been covered with the twine. I went over some areas of the spider web again with it to make it stick out even more. Allow the adhesive to dry well so it's all stuck down hard.

Paint over the whole design with a color that you want for the background of the witch book.
Step 5: I mixed up some dark reddish acrylic paint to cover over the book cover as a first layer. You need to push the brush bristles right into the side of the cording or twine to cover everything.

Paint the whole cover if you can and allow it all to dry, overnight if you can.
Step 6: I opened out the book over a tray and newsprint and painted the back cover as well then allowed this to dry overnight.

How the Spell book looks with a second layer of purple paint on the top.
Step 7: This is the book after a second layer of purple paint. This color looks more witchy and mysterious. It took some hours to dry which is a very good chance to go off and work on another craft while you wait.

Adding on glitter glue for a real touch of magic and mystery.

Step 8: Once all the paint was dry, I added glitter glue all over the raised spider web design. This really catches the light well. My favorite to use is Stickles Glitter Glue.

Glitter has been added to the spiderweb on the front cover and you can see just how it stands out against the dark purple.
Step 9: You can see the glitter applied to the web section here which makes it stand out nicely from the dark purple background. The glitter gives it a magical look just right for a witch's spell book.

I used gold color metallic paint for the wording of Spells.
Step 10: You could use a paint of your own choice but I had some gold metallic fabric paint which I dabbed over the Spells wording with a small stencil brush.

Adding extra fine gold glitter, tapped on with a brush while the paint is still wet.
Step 11: While the gold paint was still wet, I used a soft brush loaded with extra fine gold glitter and tapped it over the wording. It stuck to the areas of still wet paint.
To remove any excess from the book, I turned it upside down over the bin and tapped the back to shake stray glitter powder off.

Marvy metallics (Uchida) pen worked well on the edges of the book pages to stop it looking so new.
Step 12: A Marvy metallics broad tipped marker pen came in handy for coloring the edges of the book pages in a pinky purple tone. I believe these are now known as Uchida metallic pens. It has a slight sheen that works well with the whole look.

I added on some tiny sequins on to the spider web design for extra sparkle.
Step 13: After a few smaller enhancements, some tiny sequins stuck to the spider web, some cording down the book spine and a beaded bookmarker, the spell book prop was good to go. It looks just the part propped up on my display unit in front of other books.

To help make your Halloween prop even more convincing, why not print out some spell book pages that you can stick inside. You don't need that many since you can glue together any pages that you don't wish to put spells on.
Adding some spell pages in the middle of your completed witch spell book is a great idea because you can then have this prop open or closed to suit your display. Visitors and guests should be impressed that the whole thing is actually a spell book and not just blank inside.

Please pin this photo or share the link to this page on your favorite social media sites so other crafters can join in the fun too!
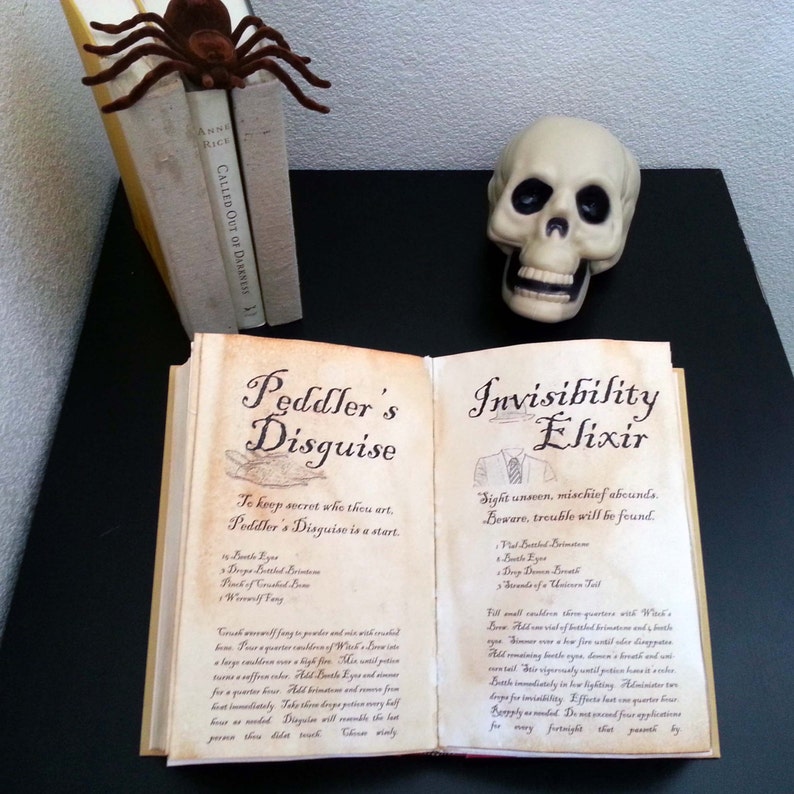
Of course you can also print out designs online to stick inside your book too if you want to take the idea even further as shown above. I hope you've enjoyed reading my justhalloweencrafts page today, thanks for your visit. Let me know if you make one of your own.
Image Credit: all tutorial photos belong to the author.
Related Content You Should Also Love
Page Last Updated:
I came up with this quick witch spell book tutorial which doesn't take hours of your time to make and looks simply amazing. You just need to allow some drying time for thick coats of paint and glitter.
Grab yourself a hard cover notebook or unwanted reading book that you can use to turn into a feature Halloween piece. Your completed book will sit on a display shelf, book case, mantel or a stand where it can be admired and appreciated by all your guests.
Note: This post may contain affiliate links for which I can be compensated.
How to Easily Make a Witch Spell Book: Complete DIY Tutorial for Halloween
My DIY spell book really picks up the light in the evening and the glitter and tiny little sequins really sparkle and shine. This works with a witch, wizard or fantasy theme such as Harry Potter and is a really fun craft.
How to Make a Witch's Spell Book: What You Need
- An old and unwanted hard cover notebook or reading book
- Glue gun or adhesive to stick twine/cord to paper
- Cord or twine for crafts about 3-5 mm thick
- Acrylic paint in your choice of color for book cover
- Glitter glue with fine nozzle for application
- Additional choice of enhancements: sequins, glues, glitter powders, beads
- Optional printable spell book pages and inserts
- Scissors and pen/pencil
Note: glue guns are for adult use only. Kids can use adhesive such as Elmer's School Glue which is washable and non-toxic or any other brand of non-toxic white PVA glue.
DIY Make a Witch Spell Book With Instructions with Photos

Draw out a rough design on the front of your book. A Sharpie marker pen comes in handy for this.
Step 1: Draw a rough design out onto the front cover of your book. I drew a simple spiderweb design in the top corner leading down to the wording "Spells" across the bottom.
You could write "Book of Spells" across the cover if you just want text. You can always use a word processing program on a computer to print some fancy looking font out to stick over your book cover if you don't like your own handwriting.
Stick twine or cord over the lines of your design. A glue gun makes fast work of this.
Step 2: I like to use a hot glue gun for this because it makes the project nice and quick. If you use a different choice of adhesive, you need one that will stick fabric to paper. We need a fabric glue ideally because we are using twine or cord.
Trace along a section of your design with the adhesive and then quickly place the twine or cord over the top before it dries. So you're going over your drawn pattern with the twine or cord, making a raised design.
The main lines of my Spells design have been covered with twine so that the lines stick out.
Step 3: It doesn't matter too much if you are not terribly neat, so long as the cording is well stuck down.
You could use thicker and thinner pieces of cord or twine depending on how detailed your drawn design is to follow.
Add even more twine on top of areas that you want to stand out more. The finished design looks better if the lines are nice and raised.
Step 4: All the design has been covered with the twine. I went over some areas of the spider web again with it to make it stick out even more. Allow the adhesive to dry well so it's all stuck down hard.
Paint over the whole design with a color that you want for the background of the witch book.
Step 5: I mixed up some dark reddish acrylic paint to cover over the book cover as a first layer. You need to push the brush bristles right into the side of the cording or twine to cover everything.
Paint the whole cover if you can and allow it all to dry, overnight if you can.
Step 6: I opened out the book over a tray and newsprint and painted the back cover as well then allowed this to dry overnight.
How the Spell book looks with a second layer of purple paint on the top.
Step 7: This is the book after a second layer of purple paint. This color looks more witchy and mysterious. It took some hours to dry which is a very good chance to go off and work on another craft while you wait.
Adding on glitter glue for a real touch of magic and mystery.
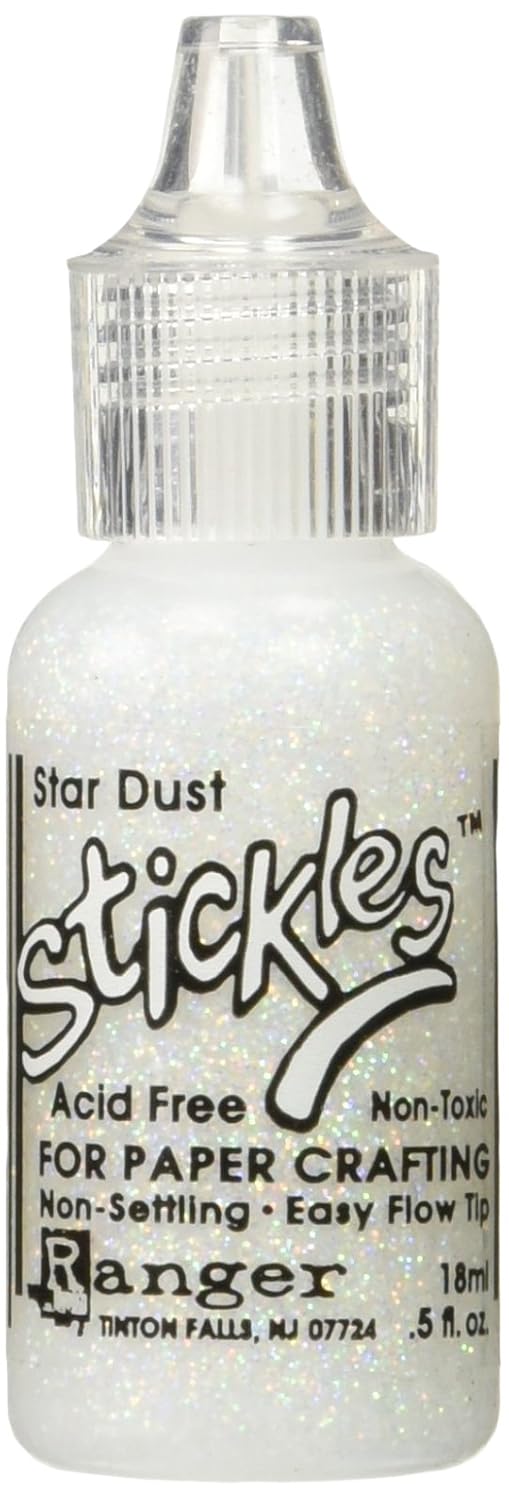

Step 8: Once all the paint was dry, I added glitter glue all over the raised spider web design. This really catches the light well. My favorite to use is Stickles Glitter Glue.
Glitter has been added to the spiderweb on the front cover and you can see just how it stands out against the dark purple.
Step 9: You can see the glitter applied to the web section here which makes it stand out nicely from the dark purple background. The glitter gives it a magical look just right for a witch's spell book.
I used gold color metallic paint for the wording of Spells.
Step 10: You could use a paint of your own choice but I had some gold metallic fabric paint which I dabbed over the Spells wording with a small stencil brush.
Adding extra fine gold glitter, tapped on with a brush while the paint is still wet.
Step 11: While the gold paint was still wet, I used a soft brush loaded with extra fine gold glitter and tapped it over the wording. It stuck to the areas of still wet paint.
To remove any excess from the book, I turned it upside down over the bin and tapped the back to shake stray glitter powder off.
Marvy metallics (Uchida) pen worked well on the edges of the book pages to stop it looking so new.
Step 12: A Marvy metallics broad tipped marker pen came in handy for coloring the edges of the book pages in a pinky purple tone. I believe these are now known as Uchida metallic pens. It has a slight sheen that works well with the whole look.
I added on some tiny sequins on to the spider web design for extra sparkle.
Step 13: After a few smaller enhancements, some tiny sequins stuck to the spider web, some cording down the book spine and a beaded bookmarker, the spell book prop was good to go. It looks just the part propped up on my display unit in front of other books.
Add Some Printable Spell Book Pages Inside Your Completed Design
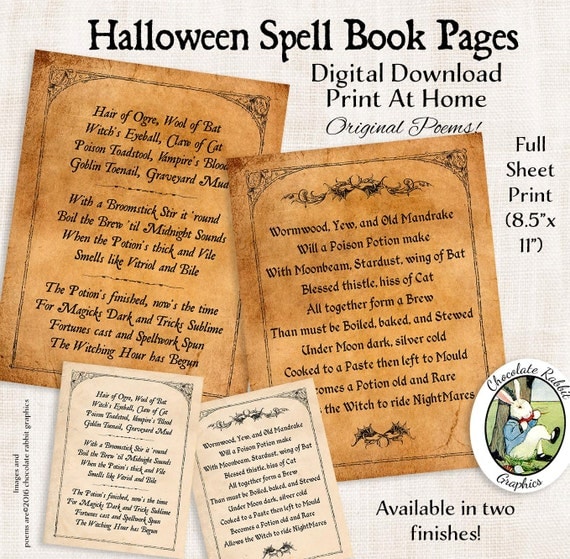
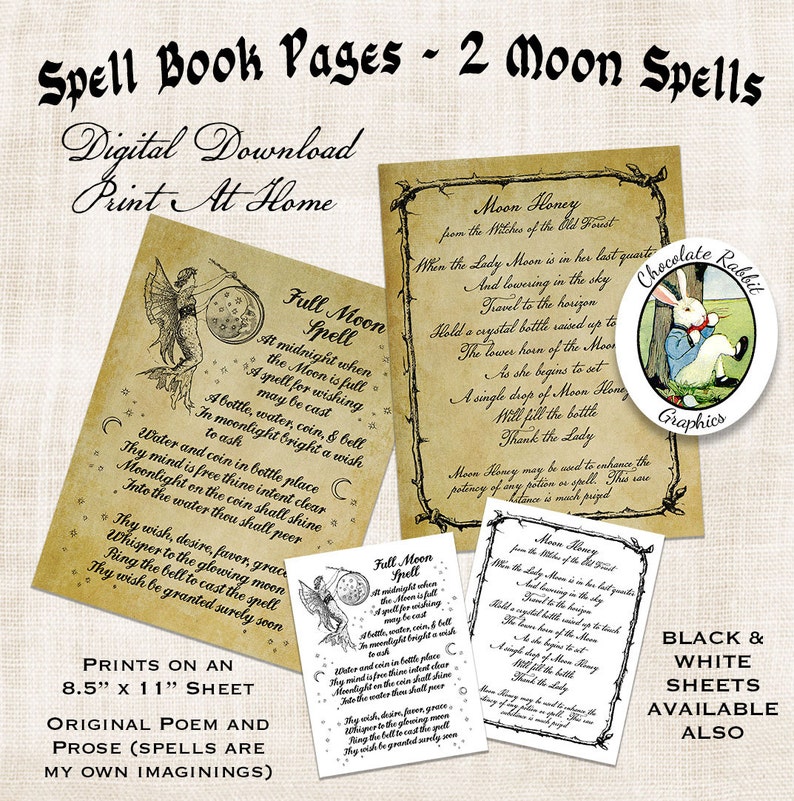
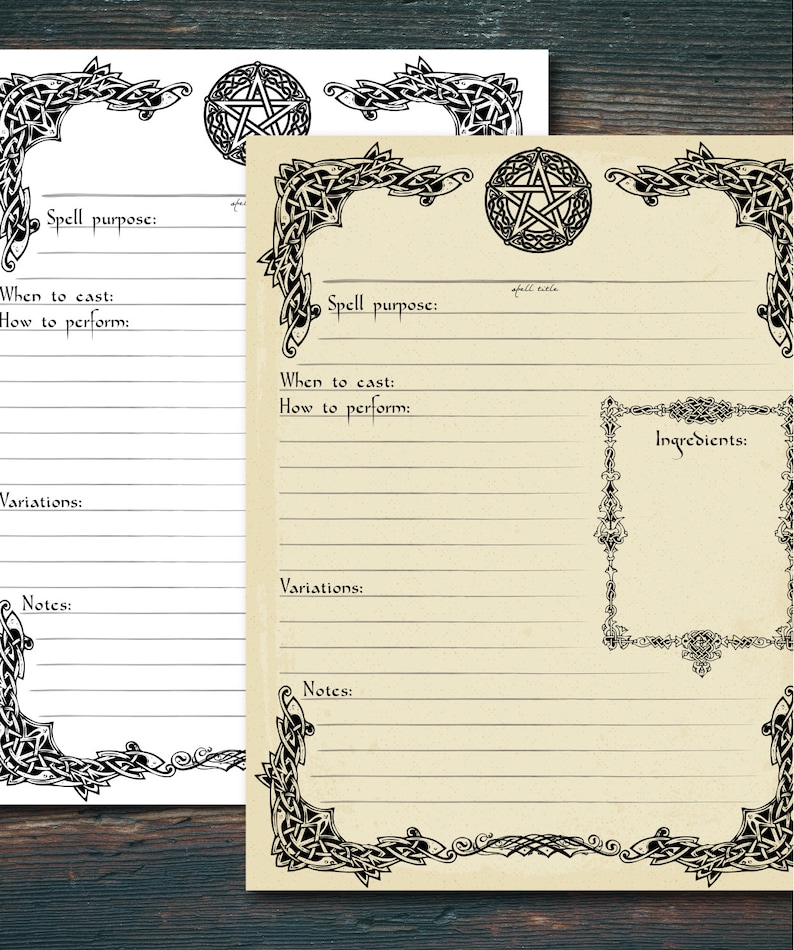
To help make your Halloween prop even more convincing, why not print out some spell book pages that you can stick inside. You don't need that many since you can glue together any pages that you don't wish to put spells on.
Adding some spell pages in the middle of your completed witch spell book is a great idea because you can then have this prop open or closed to suit your display. Visitors and guests should be impressed that the whole thing is actually a spell book and not just blank inside.
Please pin this photo or share the link to this page on your favorite social media sites so other crafters can join in the fun too!
Of course you can also print out designs online to stick inside your book too if you want to take the idea even further as shown above. I hope you've enjoyed reading my justhalloweencrafts page today, thanks for your visit. Let me know if you make one of your own.
Image Credit: all tutorial photos belong to the author.
Related Content You Should Also Love
Halloween Potion Bottle Labels Free Printables
DIY Fabric Pom Pom Witch Wand
Lots of Witch Decorations for Halloween
How to Make a Witch Fairy Door Craft
More on Witches to Enjoy
DIY Fabric Pom Pom Witch Wand
Lots of Witch Decorations for Halloween
How to Make a Witch Fairy Door Craft
More on Witches to Enjoy
Page Last Updated:
This looks so cool and easy. Thanks for a great idea.
ReplyDeleteThanks, Trish. It is certainly easy to do - if it wasn't for the drying times for the paints, it would also be very quick too.
Delete