Halloween Boo Banner Craft Tutorial
This DIY BOO banner in card and paper is quick and easy to make up for your Halloween decorations because it only has 3 pennant flag sections, one for each of the letters used.
I made this banner in grays and blacks with just a hint of pumpkin orange and white for the letters to make them really pop out as you can see from the photo. If you don't have time to stretch to making a large garland, banner or section of bunting, this smaller design is ideal for you to make.
The triangular flag sections come from a free printable template which is one that I use for a number of crafts and you can print out large lettering from a computer, draw them out yourself, use a stencil or even buy some extra large chipboard letters.
Note: This post may contain affiliate links for which I can be compensated.

This smaller design is perfect for decorating and adorning mirrors, fireplaces and mantelpieces, across doors and for feature areas that you want to draw attention to - in a good way.
I opted to print mine out using Word on my computer which was quick and easy to do. Come and see exactly how this is made with the step by step tutorial and photos below.
Materials and Tools Needed:

Cut out triangles for your banner flags from scrapbook paper and card
Step 1: The first thing to do is make up your initial triangles for the 3 main flag sections in this banner.
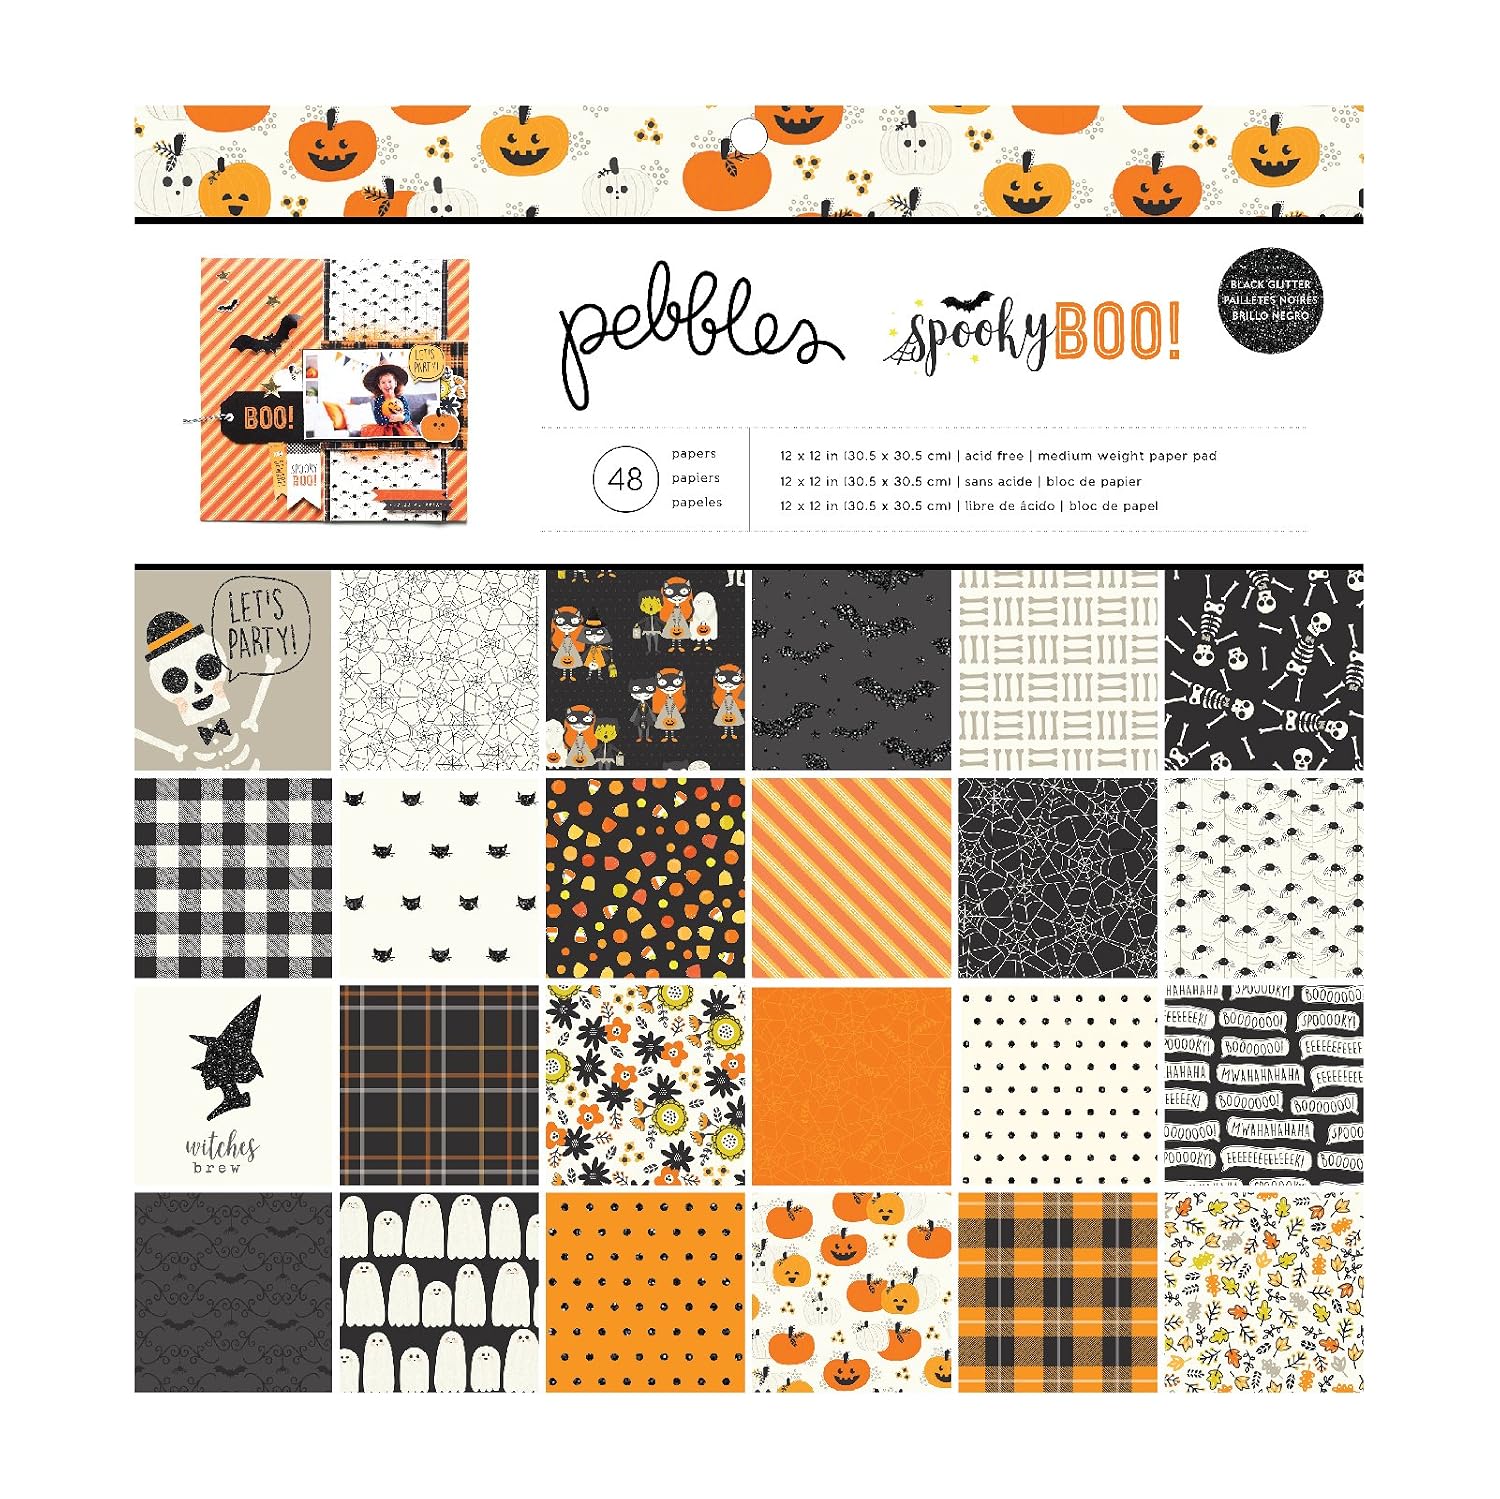
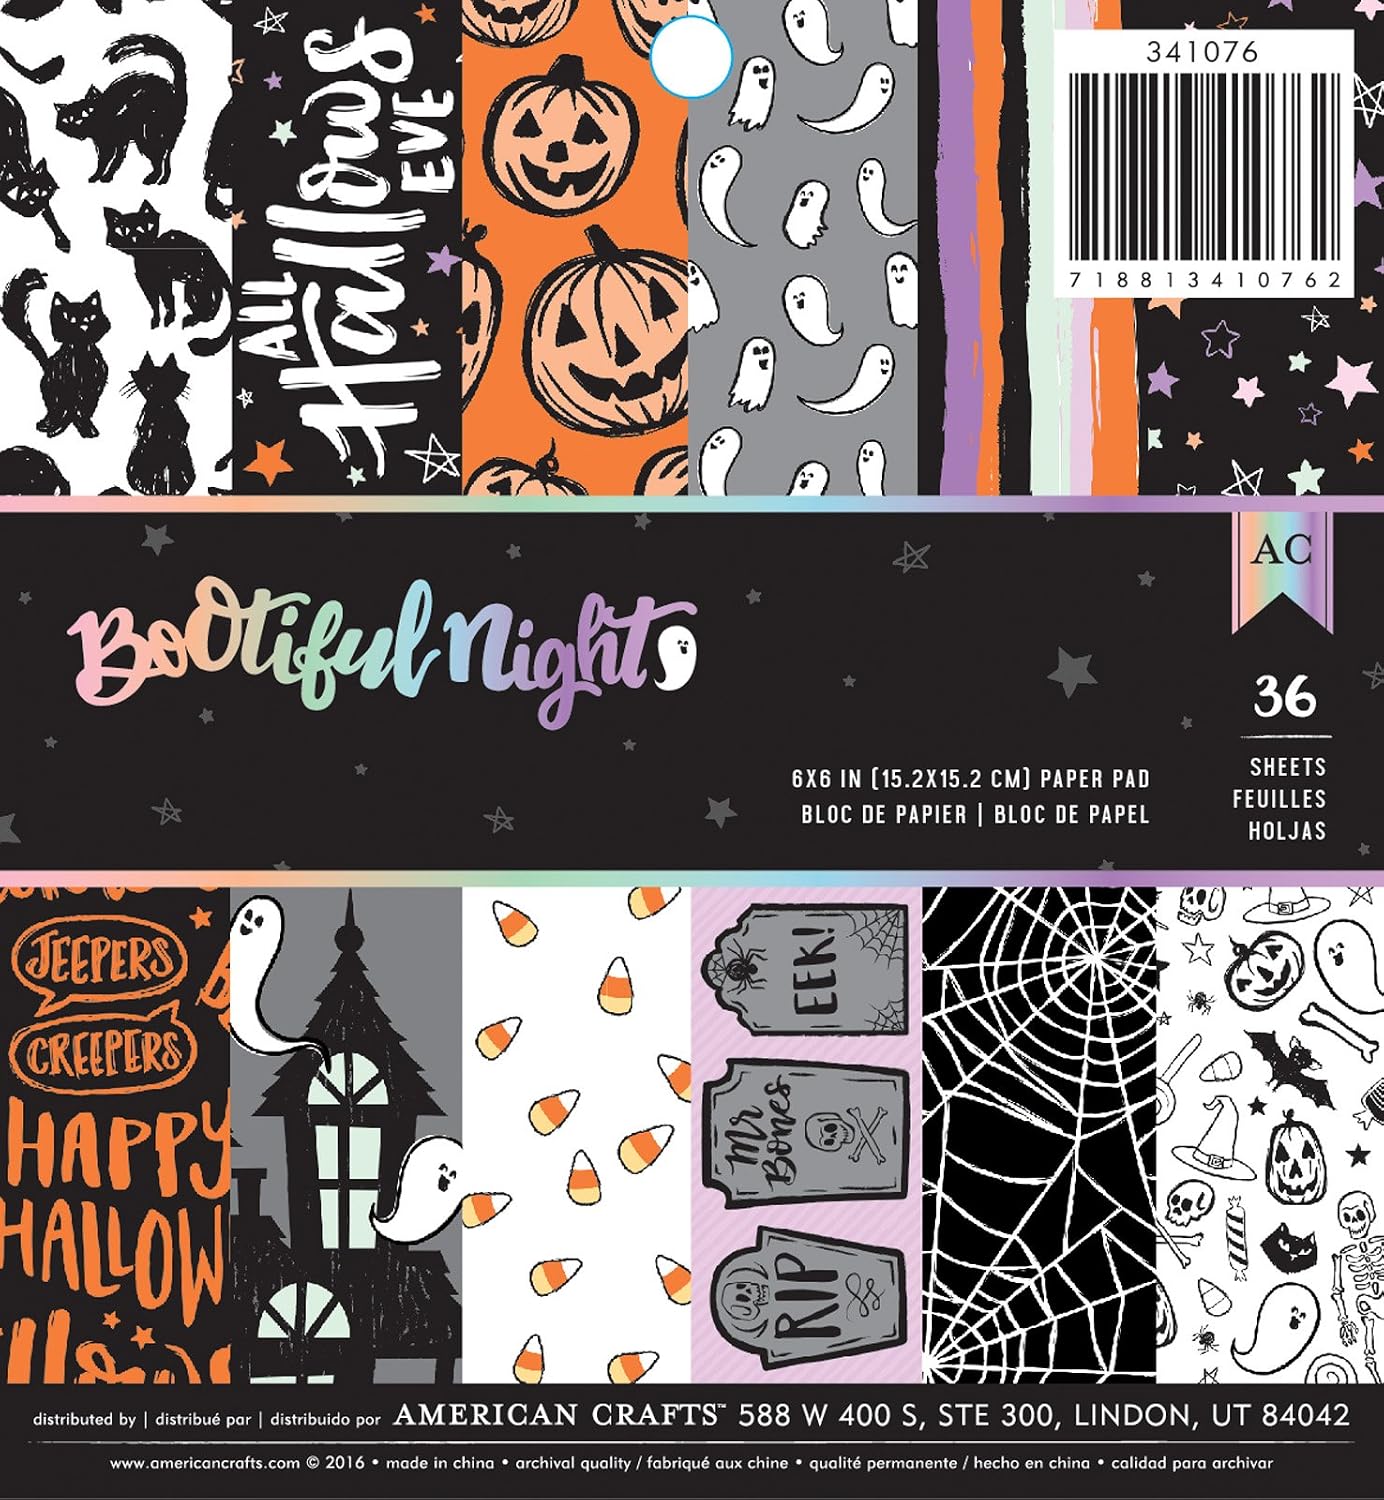
I used three different shades of Bazzill cardstock in gray for the larger triangle sections and three smaller triangles which will sit in the middle cut from patterned scrapbook papers also in grays.
I used the free printable template here to make the flags.

Mounting up the flag sections onto orange color Bazzill card
Step 2: This is an optional step but I wanted to add just a hint of a Fall pumpkin orange to the design so I mounted all the smaller triangle pieces up onto orange color Bazzill cardstock.
I mounted them up using double sided tape which gives a pretty flawless finish. It's one of my favorite adhesives to use with paper crafting because of the neat look.

Adding 3D foam squares gives a nice raised effect
Step 3: You could just stick your smaller triangle flag sections into the middle of the larger ones and be done with it. However, I'm not a fan of decorations that look flat. It always looks good to add in a little dimension and a more professional finish.

I use 3D foam pads or squares which are spaced out on the back of the triangle. Once you've got them all stuck down, you can peel off the backing papers on the backs of the foam pads with a long nail or a pair of craft tweezers.

Mounting up the triangular flag sections
Step 4: Stick the smaller, inner, triangle neatly inside the larger one which you've cut from gray color cardstock. Complete all the flag triangles in this way until you have 3 made up like in the photo above. Gray works really well with that tiny pop of orange.

Printing off BOO lettering to use as templates
Step 5: Here's where I use Word on my computer to print off a nice large letter B and O to make some quick letter templates.
You could opt for some large chipboard letters, cut some from your paper cutting machine like a Cricut or use a stencil instead. If you use a stencil, you can skip through the letter making. But I'm showing you how I made the BOO wording which I'm really pleased with.
Print off a large capital letter B and O twice. Make sure the letters will actually fit onto your triangle flag sections that you made earlier.
You need to stick a whole B and O onto a piece of thick card (a used cereal packet will do) and from the other set of letters you need the inside of the O and the inside of one of the inside pieces of the B.

Making letter templates for this project
Step 6: This photo shows all the letter pieces stuck on to card and cut around to make quick and handy templates that you can make some very cool lettering with.

Cutting out the letters from white glitter card and black card
Step 7: I choose a really gorgeous white glitter card for the full letters and plain black card for the inner sections of the letters. Trace around your templates and cut out all the pieces as shown in the photo.

Stick the black letter inners on top of the white glitter card
Step 8: Again, I go back to using the 3D foam pads to stick the black pieces of card in place to make up the wording as shown. It looks really effective.

Staple, thread or glue some ribbon or cord across the top of the flag sections
Step 9: Now stick the letters onto your triangle flag sections near the top. I used the 3D foam to layer these up and add more height to the banner.
All you need now is to assemble the finished design. To do this, I found a long length of black ribbon which I stapled on across the tops of the flag pieces. You could use a different adhesive and perhaps a low temperature glue gun.

Boo banner used across a mirror
Here's the completed design strung across our mirror for Halloween where it fits perfectly. You can also see how to make the black bird cutouts here on the blog. See how we recycled the Boo banner for this year's decorations just below.

Boo banner used across a shelving cabinet
This year we changed things up and strung the banner across the top of this Halloween themed cabinet. I added a couple of layers of fabric across the top to hide the top shelves which have completed Lego sets on and then strung up the Boo wording over the top.
The rest of the cabinet has been decked out with props such as potion bottles, candles, witch themed books and a spell book. You can find out how to make the spell book with the link below in the related posts section. Let me know how you get on with this craft in the comments. I'd love to see how yours turns out.
Related Content You Should Also Love
Page Last Updated:
I made this banner in grays and blacks with just a hint of pumpkin orange and white for the letters to make them really pop out as you can see from the photo. If you don't have time to stretch to making a large garland, banner or section of bunting, this smaller design is ideal for you to make.
The triangular flag sections come from a free printable template which is one that I use for a number of crafts and you can print out large lettering from a computer, draw them out yourself, use a stencil or even buy some extra large chipboard letters.
Note: This post may contain affiliate links for which I can be compensated.
Halloween Boo Banner Craft Tutorial: Quick and Cute Garland to Make
This smaller design is perfect for decorating and adorning mirrors, fireplaces and mantelpieces, across doors and for feature areas that you want to draw attention to - in a good way.
I opted to print mine out using Word on my computer which was quick and easy to do. Come and see exactly how this is made with the step by step tutorial and photos below.
Materials and Tools Needed:
- Gray and orange cardstock - I used Bazzill
- Printed gray scrapbook papers
- Black and white glitter cardstock for lettering
- Double sided tape or adhesive
- 3D foam squares or pads
- Length of black ribbon
- Stapler or glue gun
Cut out triangles for your banner flags from scrapbook paper and card
Step 1: The first thing to do is make up your initial triangles for the 3 main flag sections in this banner.
I used three different shades of Bazzill cardstock in gray for the larger triangle sections and three smaller triangles which will sit in the middle cut from patterned scrapbook papers also in grays.
I used the free printable template here to make the flags.
Mounting up the flag sections onto orange color Bazzill card
Step 2: This is an optional step but I wanted to add just a hint of a Fall pumpkin orange to the design so I mounted all the smaller triangle pieces up onto orange color Bazzill cardstock.
I mounted them up using double sided tape which gives a pretty flawless finish. It's one of my favorite adhesives to use with paper crafting because of the neat look.
Adding 3D foam squares gives a nice raised effect
Step 3: You could just stick your smaller triangle flag sections into the middle of the larger ones and be done with it. However, I'm not a fan of decorations that look flat. It always looks good to add in a little dimension and a more professional finish.
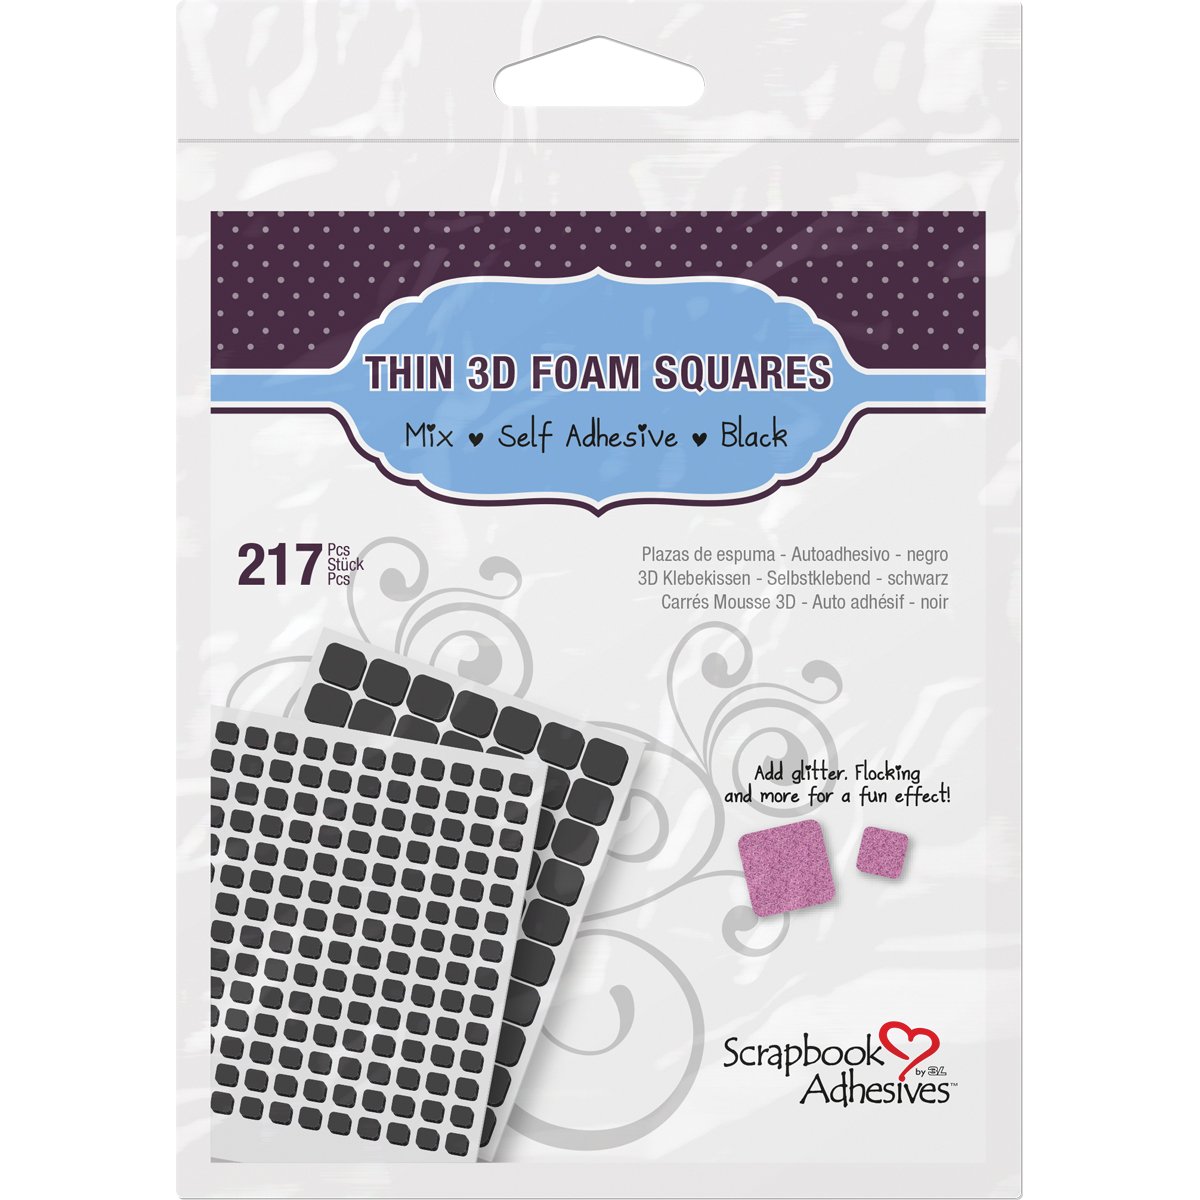
I use 3D foam pads or squares which are spaced out on the back of the triangle. Once you've got them all stuck down, you can peel off the backing papers on the backs of the foam pads with a long nail or a pair of craft tweezers.
Mounting up the triangular flag sections
Step 4: Stick the smaller, inner, triangle neatly inside the larger one which you've cut from gray color cardstock. Complete all the flag triangles in this way until you have 3 made up like in the photo above. Gray works really well with that tiny pop of orange.
Printing off BOO lettering to use as templates
Step 5: Here's where I use Word on my computer to print off a nice large letter B and O to make some quick letter templates.
You could opt for some large chipboard letters, cut some from your paper cutting machine like a Cricut or use a stencil instead. If you use a stencil, you can skip through the letter making. But I'm showing you how I made the BOO wording which I'm really pleased with.

Print off a large capital letter B and O twice. Make sure the letters will actually fit onto your triangle flag sections that you made earlier.
You need to stick a whole B and O onto a piece of thick card (a used cereal packet will do) and from the other set of letters you need the inside of the O and the inside of one of the inside pieces of the B.
Making letter templates for this project
Step 6: This photo shows all the letter pieces stuck on to card and cut around to make quick and handy templates that you can make some very cool lettering with.
Cutting out the letters from white glitter card and black card
Step 7: I choose a really gorgeous white glitter card for the full letters and plain black card for the inner sections of the letters. Trace around your templates and cut out all the pieces as shown in the photo.
Stick the black letter inners on top of the white glitter card
Step 8: Again, I go back to using the 3D foam pads to stick the black pieces of card in place to make up the wording as shown. It looks really effective.
Staple, thread or glue some ribbon or cord across the top of the flag sections
Step 9: Now stick the letters onto your triangle flag sections near the top. I used the 3D foam to layer these up and add more height to the banner.
All you need now is to assemble the finished design. To do this, I found a long length of black ribbon which I stapled on across the tops of the flag pieces. You could use a different adhesive and perhaps a low temperature glue gun.
Boo banner used across a mirror
Here's the completed design strung across our mirror for Halloween where it fits perfectly. You can also see how to make the black bird cutouts here on the blog. See how we recycled the Boo banner for this year's decorations just below.
Boo banner used across a shelving cabinet
This year we changed things up and strung the banner across the top of this Halloween themed cabinet. I added a couple of layers of fabric across the top to hide the top shelves which have completed Lego sets on and then strung up the Boo wording over the top.
The rest of the cabinet has been decked out with props such as potion bottles, candles, witch themed books and a spell book. You can find out how to make the spell book with the link below in the related posts section. Let me know how you get on with this craft in the comments. I'd love to see how yours turns out.
Related Content You Should Also Love
Make a Magnificent Spell Book Prop
Happy Halloween Banner with Free Printables
Make Tissue Paper Pom Pom Decorations
More DIY Halloween Decorations
More Fall Papercrafts
Happy Halloween Banner with Free Printables
Make Tissue Paper Pom Pom Decorations
More DIY Halloween Decorations
More Fall Papercrafts
Page Last Updated:
Comments
Post a Comment
Just Halloween Crafts is a site dedicated to my favorite time of year and the whole spook time season that surrounds October 31st. I love to decorate the home with handmade, DIY and crafted items for Halloween as well as make costume accessories and do fun crafting activities. Using papercrafts, sewing with felt, no-sew techniques and more, you can create a wonderful scheme to your decor whether you are going for scary themes or more fun ones with pumpkins and more. Ghosts, witches, wizards and more make for fun crafting sessions. Thanks for leaving me a comment. Comments do not show until I approve them. Marie