Sugar Skull Perler Beads Pattern
Sugar Skull Perler bead patterns and designs are really popular motifs. Lots of people want to decorate, make crafts and paint up their faces just like this beautiful yet creepy decorated, colorful skull.
Despite these elaborate patterns actually being a symbol of The Day of the Dead, they're not actually related to Halloween but to the Mexican Holiday which is called Dia de los Muertos.
However, they make a fabulous decoration for the bewitching season of October and I've captured this style with a fused Perler bead sugar skull pattern and tutorial.
Note: This post may contain affiliate links for which I can be compensated.

Image Credit: photo belongs to the author.
This tutorial shows you how to create a basic and simple skull shaped outline using fused beads such as Hama and Perler varieties on a small square pegboard. Then you can use my idea for filling in the outlines with fun colors or come up with your own decorative ideas.
When you're done, the completed design can be ironed by an adult to fix the beads and you can easily turn it into a hanging decoration or a magnet even. Enjoy creating.
Materials and Tools Needed

Image Credit: photo belongs to the author.
Step 1:You need a small, square peg board for this Perler, Hama pattern. I chose to make the skull design to fit on this board since most people have one of these boards to use because it comes bundled with many kits and bead buckets.
I like to work the outline and key features of the sugar skull in black because it looks dramatic for Halloween.
It means that you can still easily pick out the main features after all the other beads have been added. You could also try using a white outline and then add in some darker colors on the interior parts. Work the outline and interior parts as shown.

Image Credit: photo belongs to the author.
Step 2: In this image, I've added a few more black beads to make the eye socket areas on the skull stand out even more. It makes the eyes look a bit more dramatic.

Image Credit: photo belongs to the author.
Step 3: I like to add in some white bead highlights. You can just use colors but I found that it looks much more skull-like when a few white areas are picked out first. This creates the very basic design or pattern.

You can see how I add in color beads below but have fun experimenting with your own colors and patterns. And, if you have a bigger square board, why not try making a larger Day of the Dead skull to decorate.

Image Credit: photo belongs to the author.
Step 4: Once I have the basic skull design, I find it easier to add some color around the eye socket area first. On this pattern I added a medium blue between the eyes and just above them.

Image Credit: photo belongs to the author.
Step 5: Try adding a different color (I used a light cyan blue) under the eye sockets and around the top of the mouth.

Image Credit: photo belongs to the author.
Step 6: Next I added some pink Perler beads which work well with the rest of the color scheme. It's easier to work around the colors that you've already placed onto the board.

Image Credit: photo belongs to the author.
Step 7: Now fill in all the empty gaps inside the skull on the peg board with a 4th color choice. Here I used a yellow.
This size of skull works well with 4-5 colors because if you use more than that it starts to look like a mess of colors rather than some deliberate patterning.

Image Credit: photo belongs to the author.
Step 8: You can keep the skull as it turns out in the previous step. Alternatively, for a really good Halloween look, replace the black pupils in the middle of the eye sockets with a bright red bead which looks really menacing!
Fused bead crafting is something that can be fun for the whole family and is an easy craft to indulge in during the run up to the Halloween season. Kids and adults can enjoy creating all kinds of decorations and even themed jewelry using the simple bead and peg board mechanism.

Image Credit: photo belongs to the author.
Completed designs can be turned into hanging decorations for the home and they do look fun placed in windows. They can be easily turned into magnets with an adhesive magnetic backing.
They make great cupcake toppers when fixed to a little stick or even placed just on top of the frosting as decoration. I hope you've enjoyed reading my justhalloweencrafts page today, thanks for your visit. You're really only limited by your imagination because there are many creative ways to use your designs.
Related Content You Should Also Love:
Page Last Updated:
Despite these elaborate patterns actually being a symbol of The Day of the Dead, they're not actually related to Halloween but to the Mexican Holiday which is called Dia de los Muertos.
However, they make a fabulous decoration for the bewitching season of October and I've captured this style with a fused Perler bead sugar skull pattern and tutorial.
Note: This post may contain affiliate links for which I can be compensated.
Sugar Skull Perler Beads Pattern to Make for Halloween
Image Credit: photo belongs to the author.
This tutorial shows you how to create a basic and simple skull shaped outline using fused beads such as Hama and Perler varieties on a small square pegboard. Then you can use my idea for filling in the outlines with fun colors or come up with your own decorative ideas.
When you're done, the completed design can be ironed by an adult to fix the beads and you can easily turn it into a hanging decoration or a magnet even. Enjoy creating.
Materials and Tools Needed
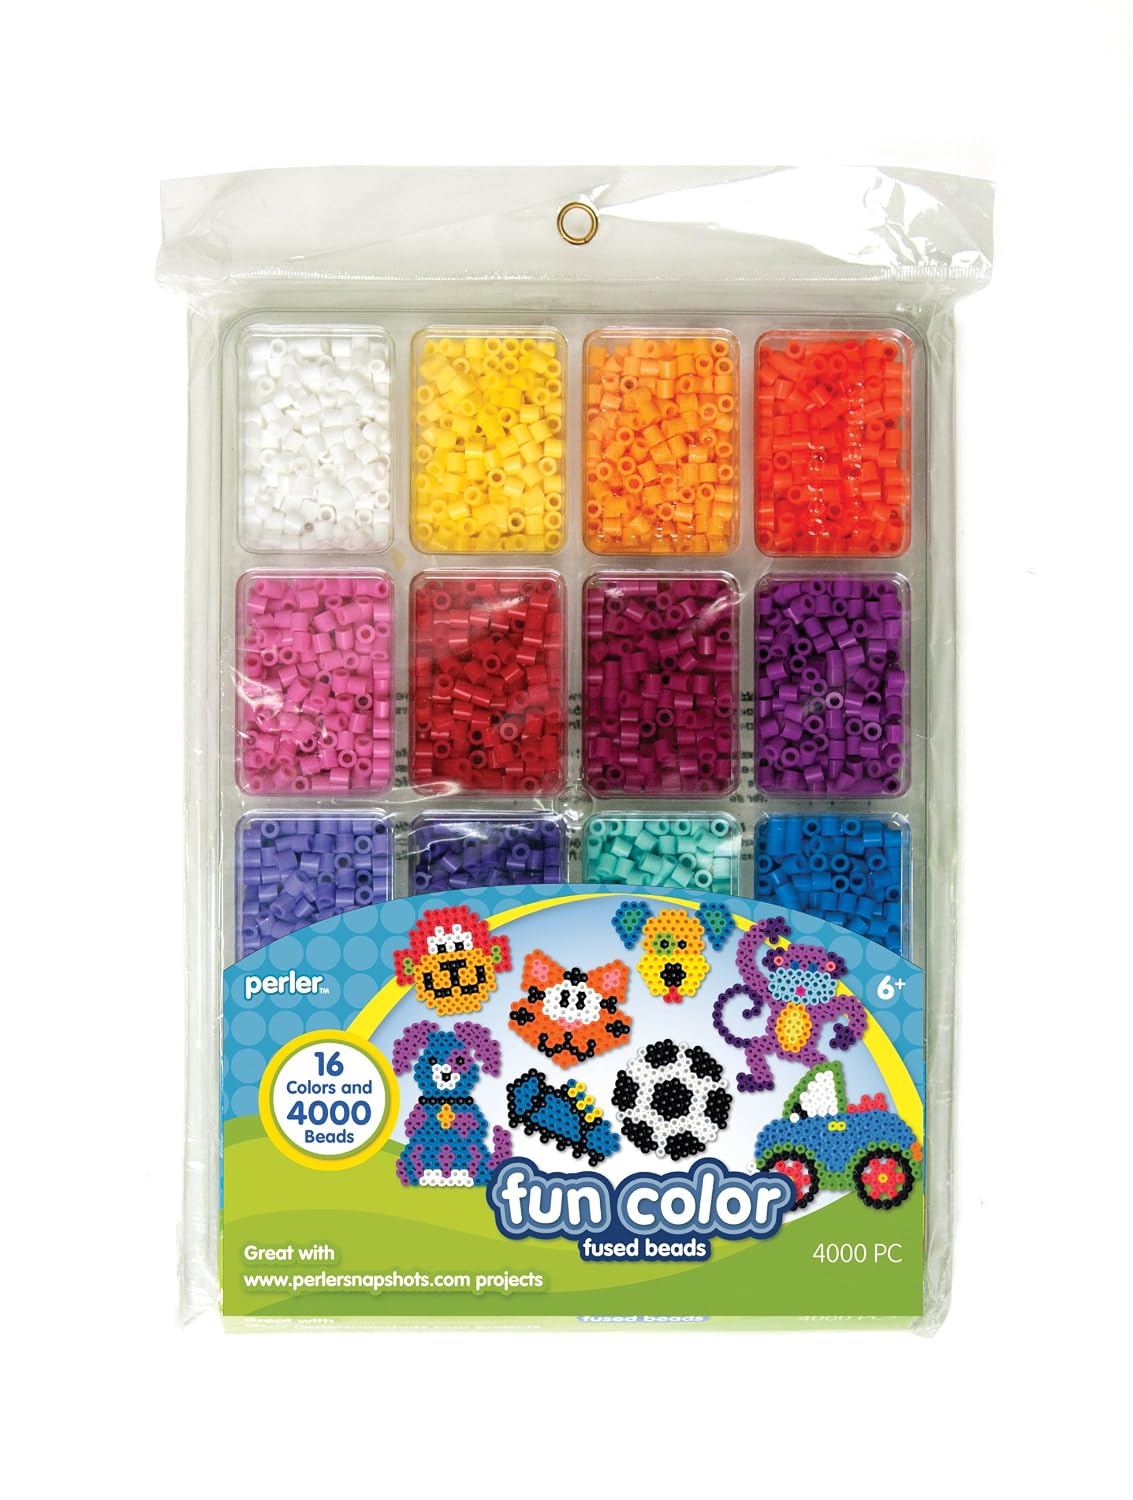
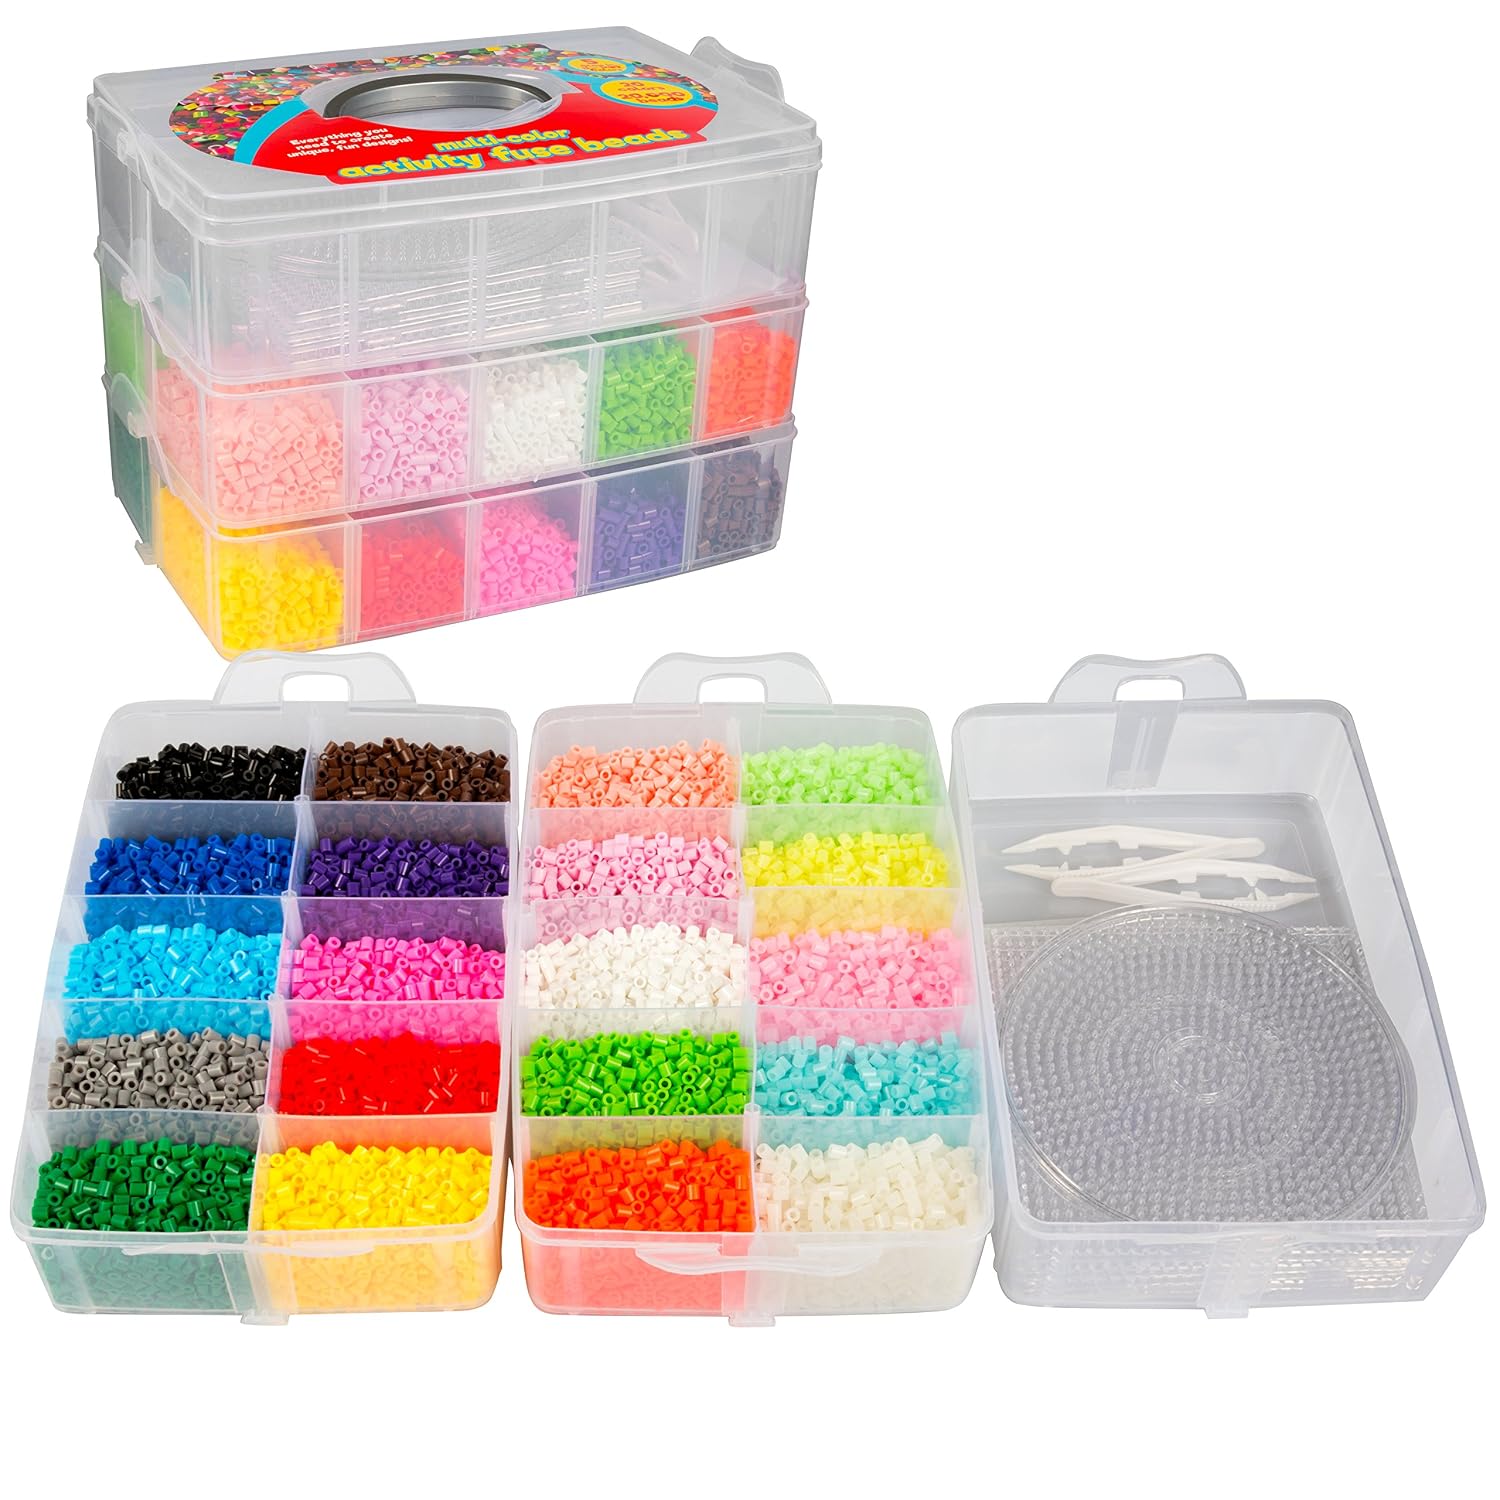
- Selection of Perler beads in colors of your choosing (Hama beads in the UK)
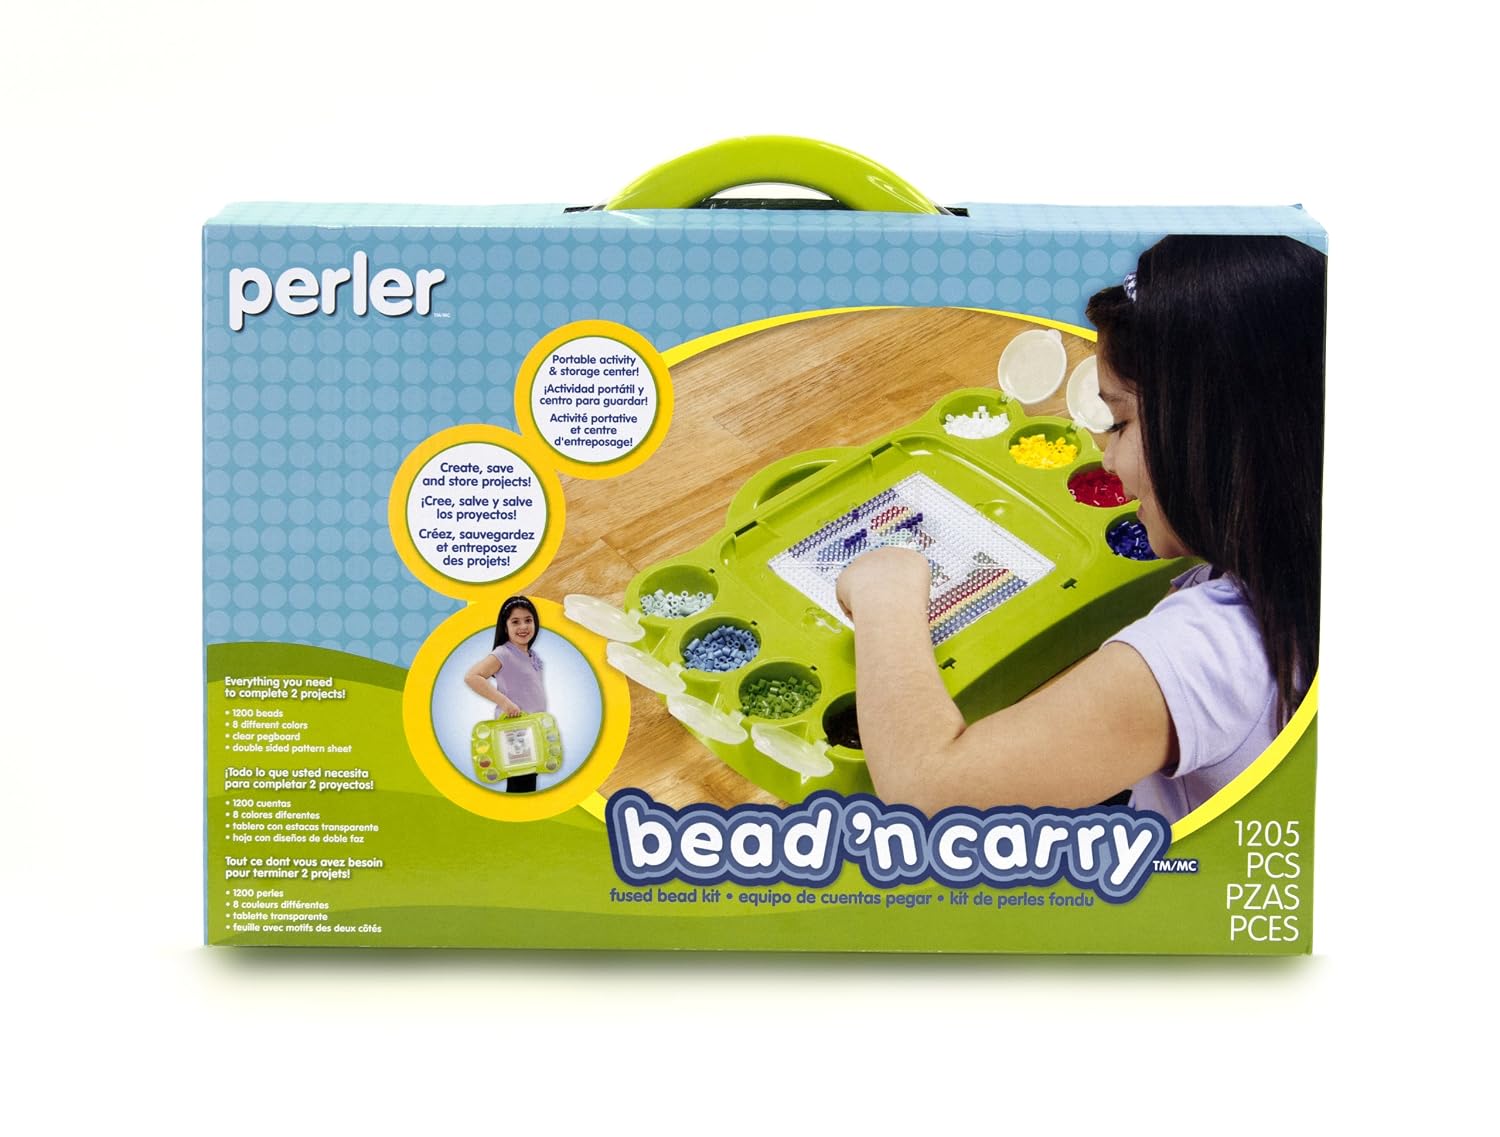
- A square pegboard, small or large
- Special ironing paper and an adult to iron the finished pattern(s)
Image Credit: photo belongs to the author.
Step 1:You need a small, square peg board for this Perler, Hama pattern. I chose to make the skull design to fit on this board since most people have one of these boards to use because it comes bundled with many kits and bead buckets.
I like to work the outline and key features of the sugar skull in black because it looks dramatic for Halloween.
It means that you can still easily pick out the main features after all the other beads have been added. You could also try using a white outline and then add in some darker colors on the interior parts. Work the outline and interior parts as shown.
Image Credit: photo belongs to the author.
Step 2: In this image, I've added a few more black beads to make the eye socket areas on the skull stand out even more. It makes the eyes look a bit more dramatic.
Image Credit: photo belongs to the author.
Step 3: I like to add in some white bead highlights. You can just use colors but I found that it looks much more skull-like when a few white areas are picked out first. This creates the very basic design or pattern.
You can see how I add in color beads below but have fun experimenting with your own colors and patterns. And, if you have a bigger square board, why not try making a larger Day of the Dead skull to decorate.
Image Credit: photo belongs to the author.
Step 4: Once I have the basic skull design, I find it easier to add some color around the eye socket area first. On this pattern I added a medium blue between the eyes and just above them.
Image Credit: photo belongs to the author.
Step 5: Try adding a different color (I used a light cyan blue) under the eye sockets and around the top of the mouth.
Image Credit: photo belongs to the author.
Step 6: Next I added some pink Perler beads which work well with the rest of the color scheme. It's easier to work around the colors that you've already placed onto the board.
Image Credit: photo belongs to the author.
Step 7: Now fill in all the empty gaps inside the skull on the peg board with a 4th color choice. Here I used a yellow.
This size of skull works well with 4-5 colors because if you use more than that it starts to look like a mess of colors rather than some deliberate patterning.
Image Credit: photo belongs to the author.
Step 8: You can keep the skull as it turns out in the previous step. Alternatively, for a really good Halloween look, replace the black pupils in the middle of the eye sockets with a bright red bead which looks really menacing!
Fused bead crafting is something that can be fun for the whole family and is an easy craft to indulge in during the run up to the Halloween season. Kids and adults can enjoy creating all kinds of decorations and even themed jewelry using the simple bead and peg board mechanism.
Image Credit: photo belongs to the author.
Completed designs can be turned into hanging decorations for the home and they do look fun placed in windows. They can be easily turned into magnets with an adhesive magnetic backing.
They make great cupcake toppers when fixed to a little stick or even placed just on top of the frosting as decoration. I hope you've enjoyed reading my justhalloweencrafts page today, thanks for your visit. You're really only limited by your imagination because there are many creative ways to use your designs.
Related Content You Should Also Love:
More Halloween Perler Bead Designs Here
Easy Mini Maleficent Design
How to Make Perler Bead Skull Earrings Tutorial
Even More Halloween Perler Beads
Easy Mini Maleficent Design
How to Make Perler Bead Skull Earrings Tutorial
Even More Halloween Perler Beads
Page Last Updated:
Comments
Post a Comment
Just Halloween Crafts is a site dedicated to my favorite time of year and the whole spook time season that surrounds October 31st. I love to decorate the home with handmade, DIY and crafted items for Halloween as well as make costume accessories and do fun crafting activities. Using papercrafts, sewing with felt, no-sew techniques and more, you can create a wonderful scheme to your decor whether you are going for scary themes or more fun ones with pumpkins and more. Ghosts, witches, wizards and more make for fun crafting sessions. Thanks for leaving me a comment. Comments do not show until I approve them. Marie